0 photo
Clean air promotes good health and vitality. Indoors, this is ensured by ventilation ...
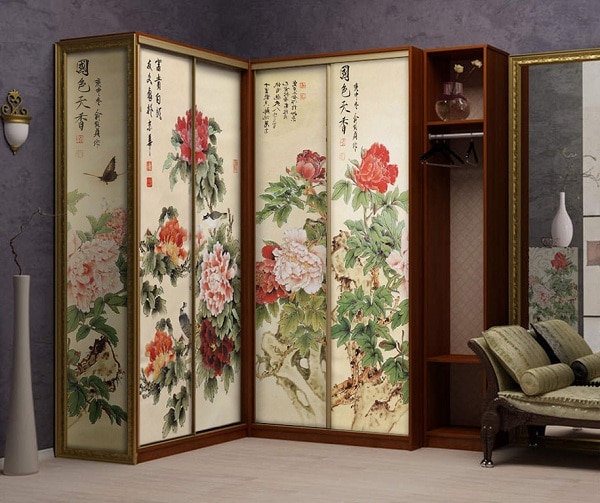
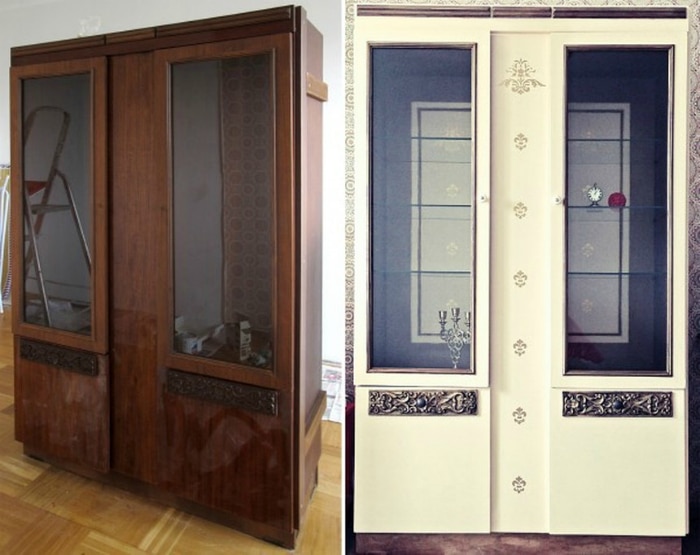
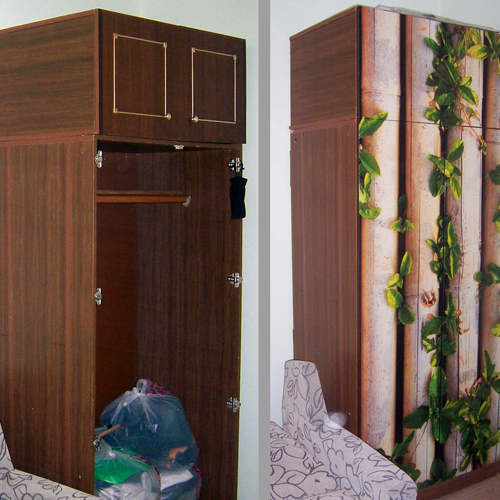
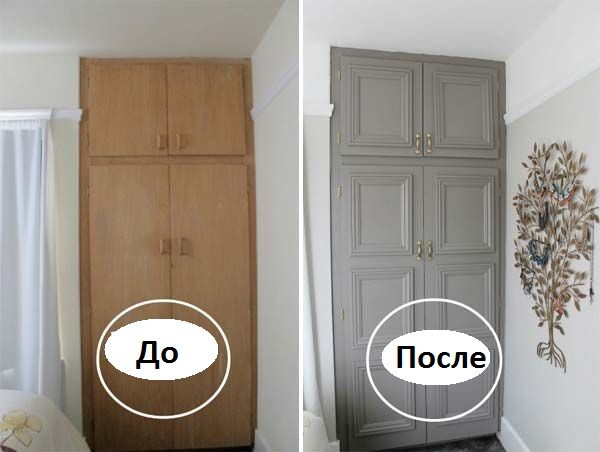
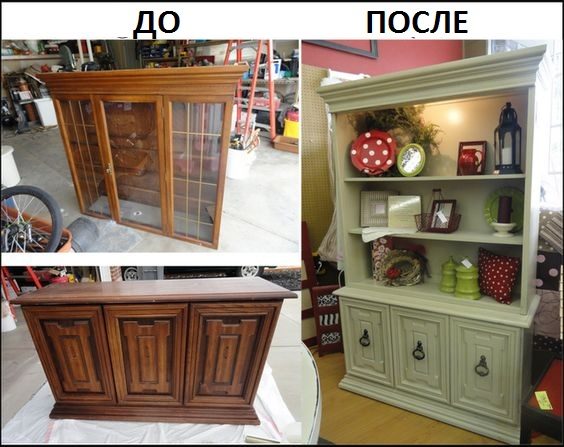
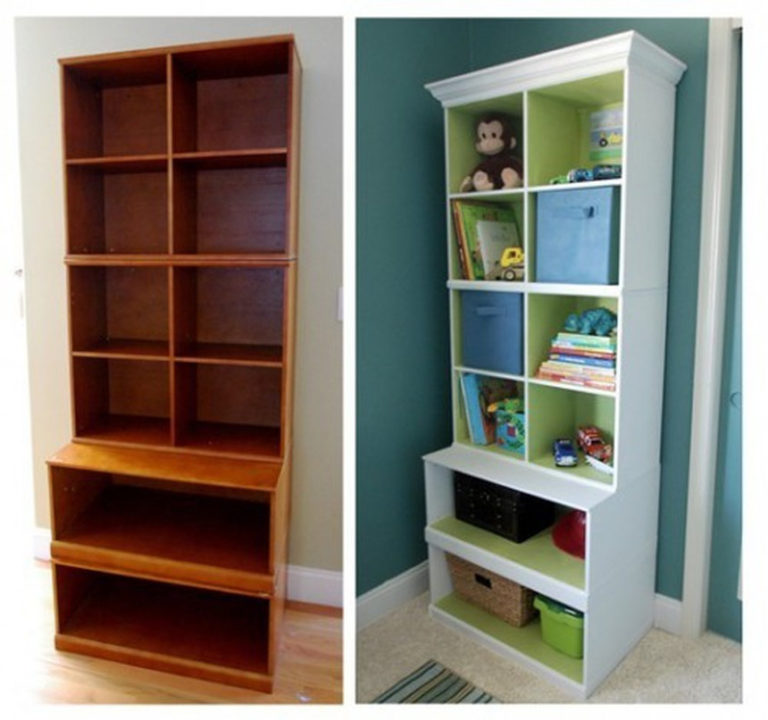
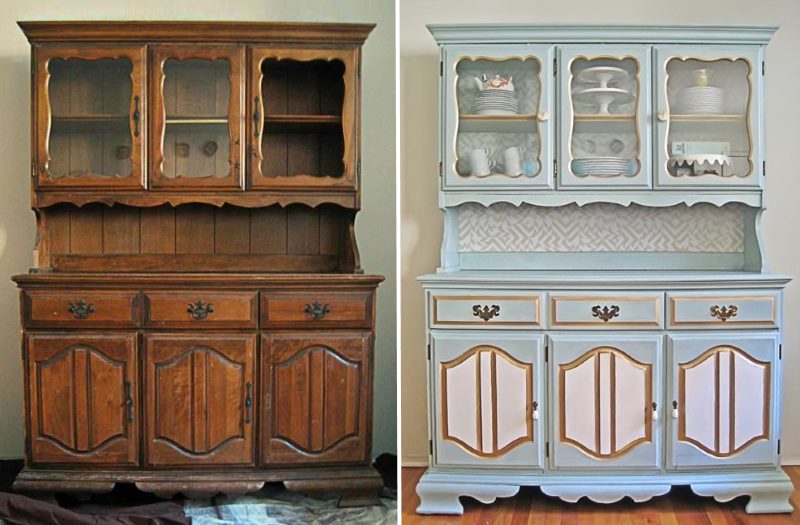
Every Russian family has, or once had an old Soviet closet. Someone had said goodbye to this for a long time, throwing it in the trash. But did you know that this work of art of Soviet thought can be given a second life? If this article fell into your hands before, then your old closet would shine with new colors. And for those who still have a “Soviet long-lived” somewhere in the country, it becomes possible to make an original cabinet decor with their own hands and complement the interior of the apartment with a truly designer attribute.
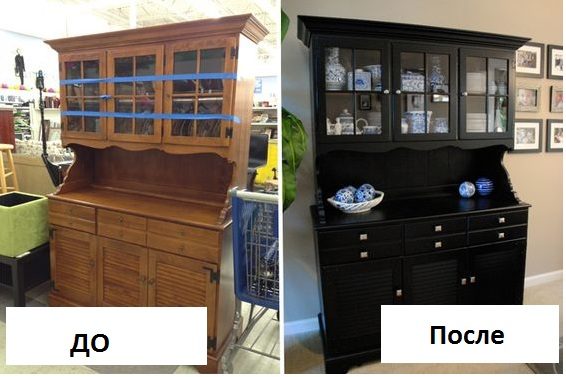
Any furniture grows old over time, but do not rush to throw away a shabby wardrobe - it can not only be brought back to life, but even made better and more original.
Content
At the moment, there are many suitable acrylic paints, adhesives and impregnations available, thanks to which you can decorate your cabinet with your own hands without any problems.
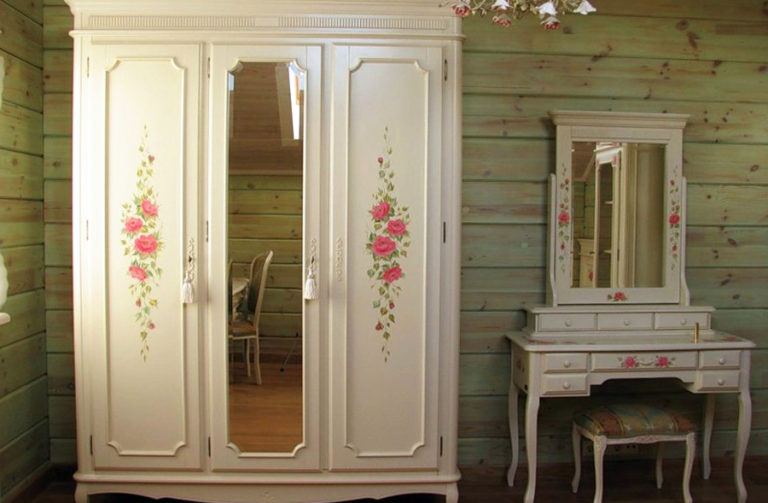
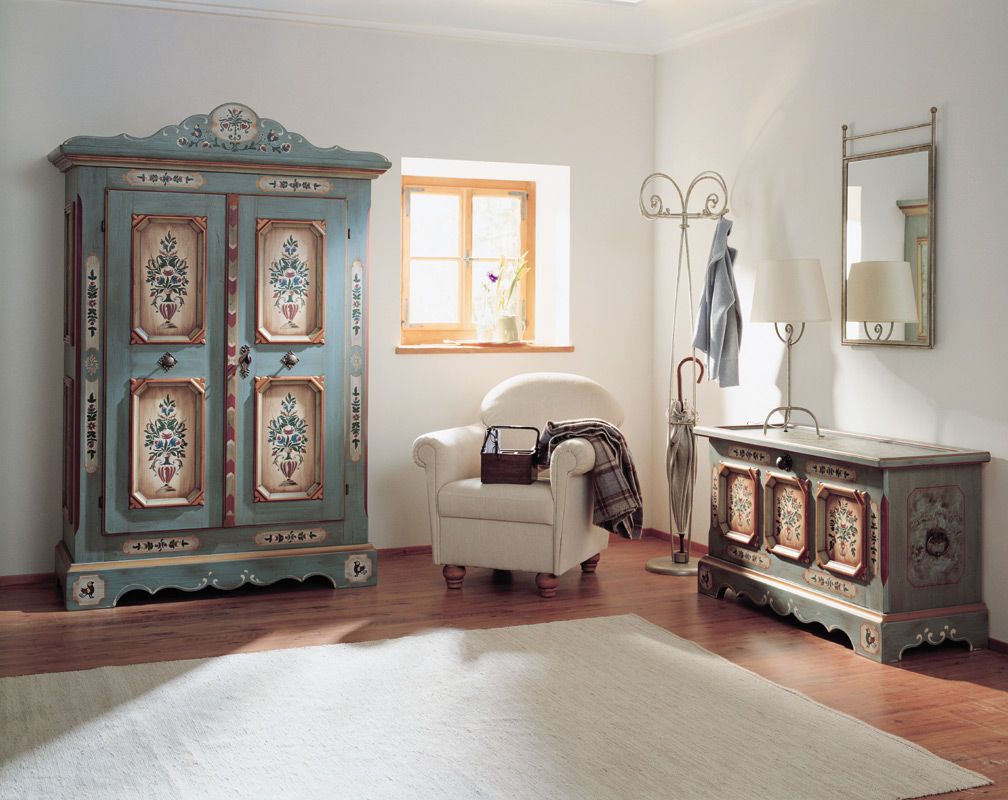
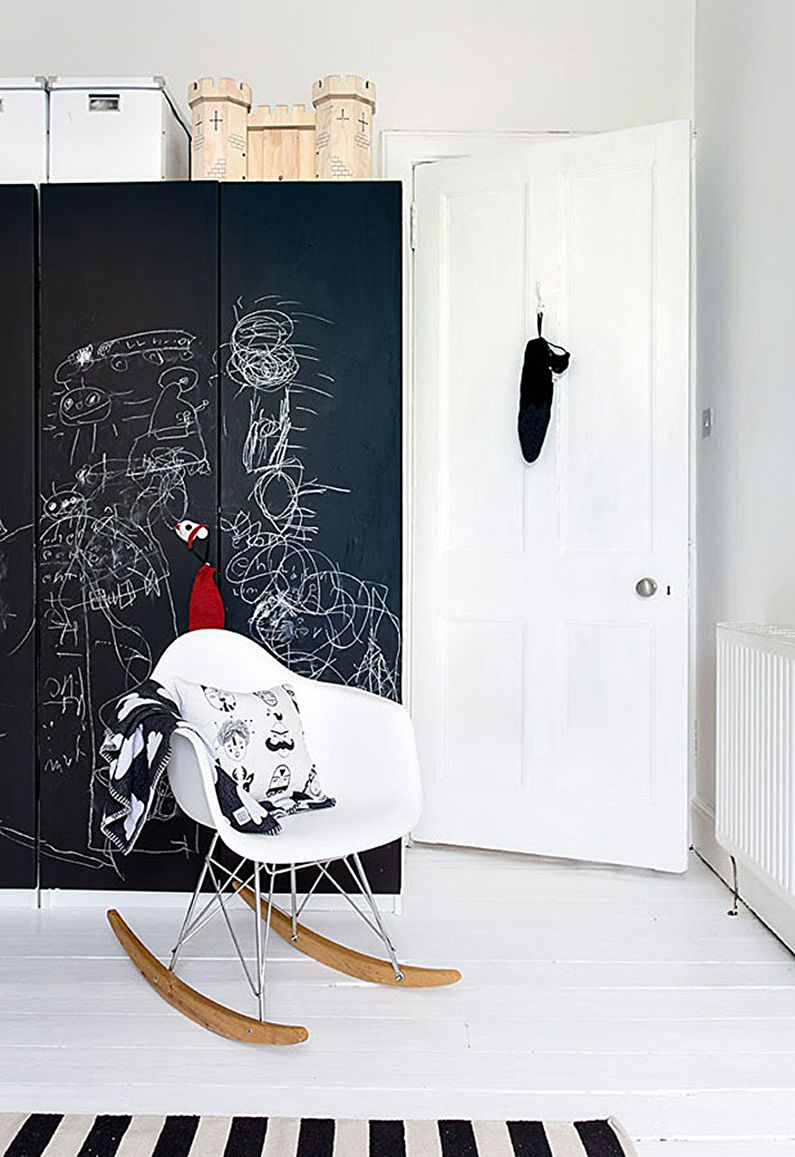
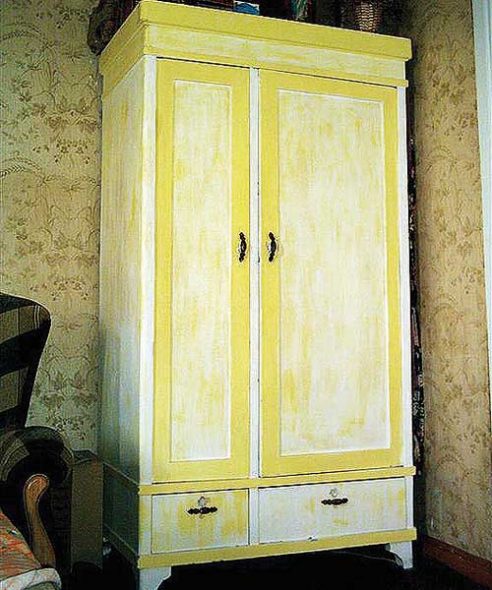
Beautiful wardrobe in a country style with elements of light scuff
There are several ways:
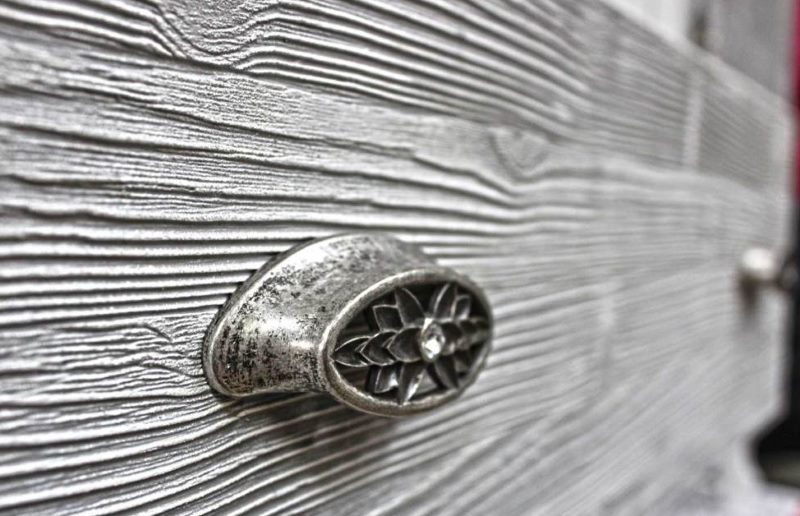
Note. Initially, patination (patina) was an independent process. A patina layer formed on the metal parts of the furniture, as well as on wood and glass.
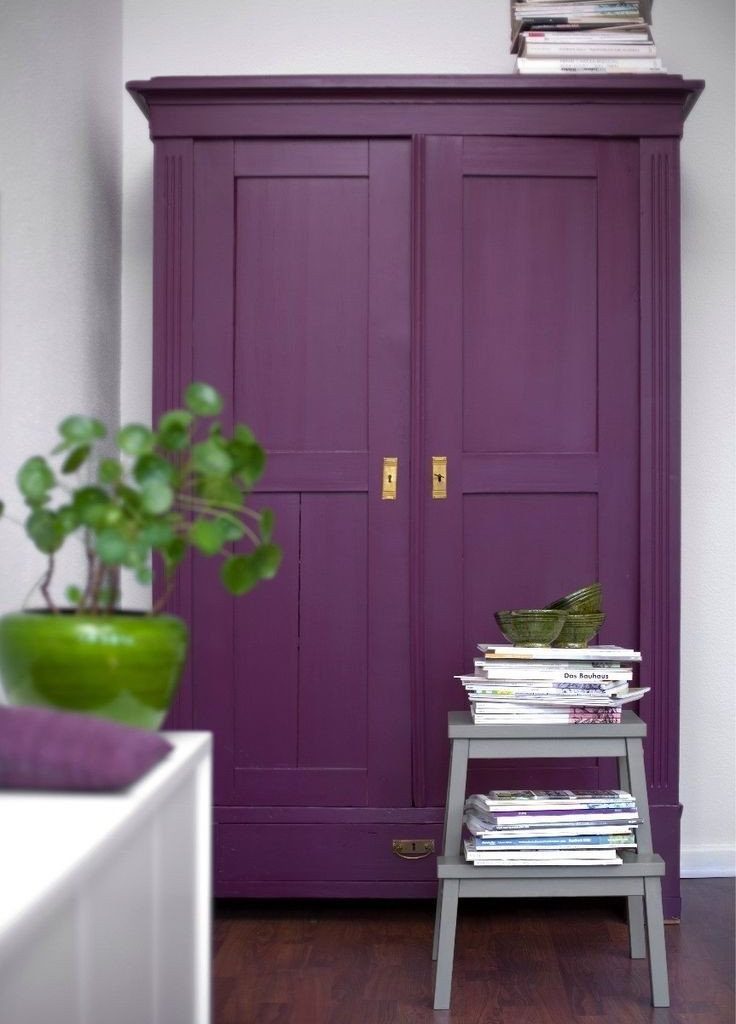
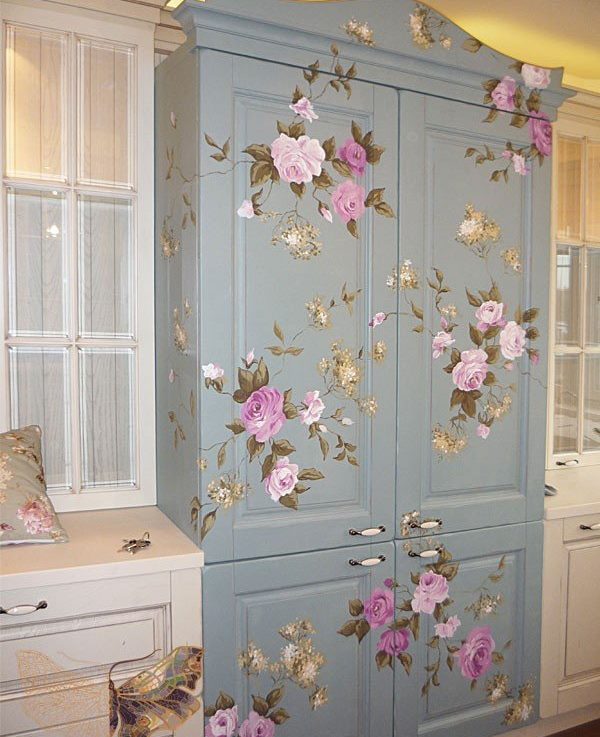
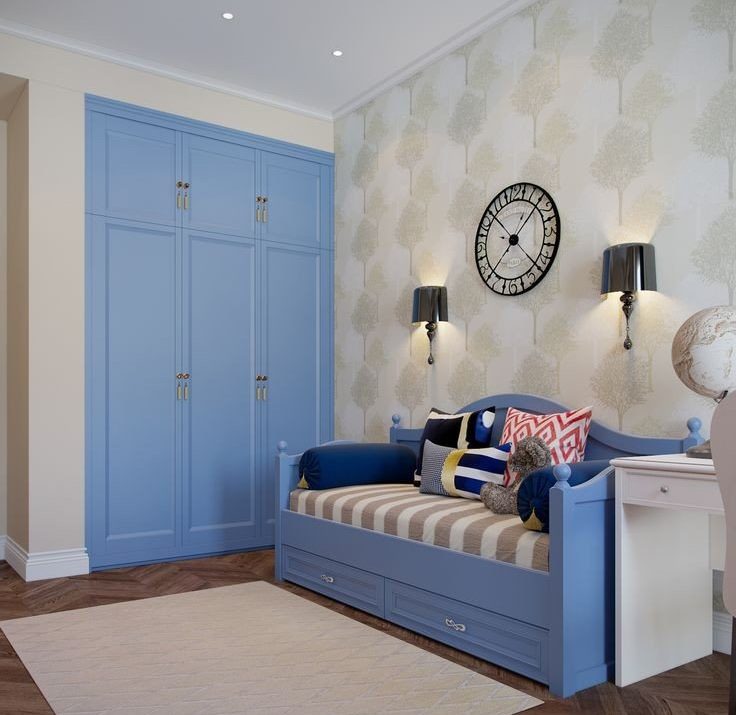
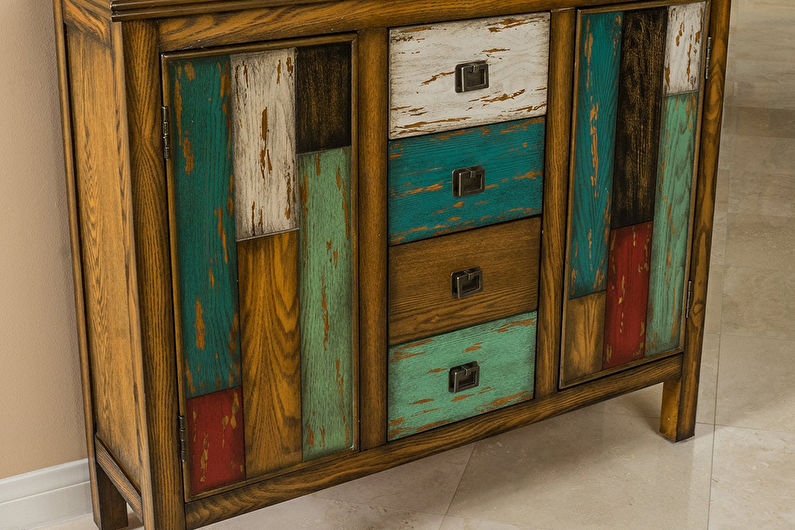
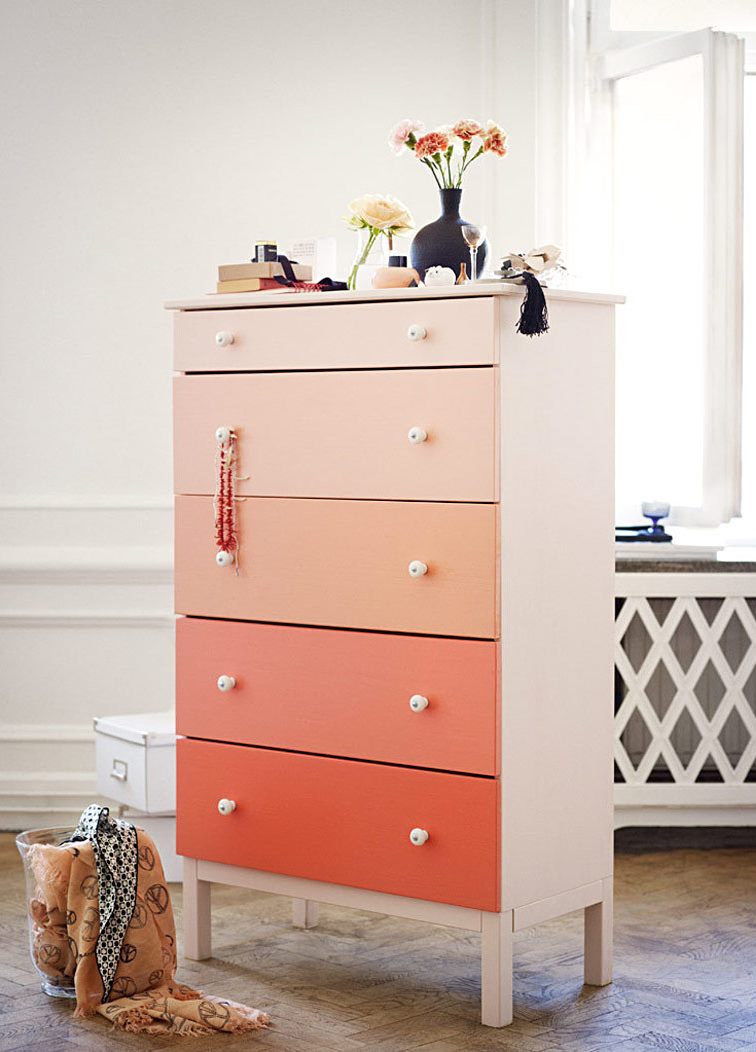
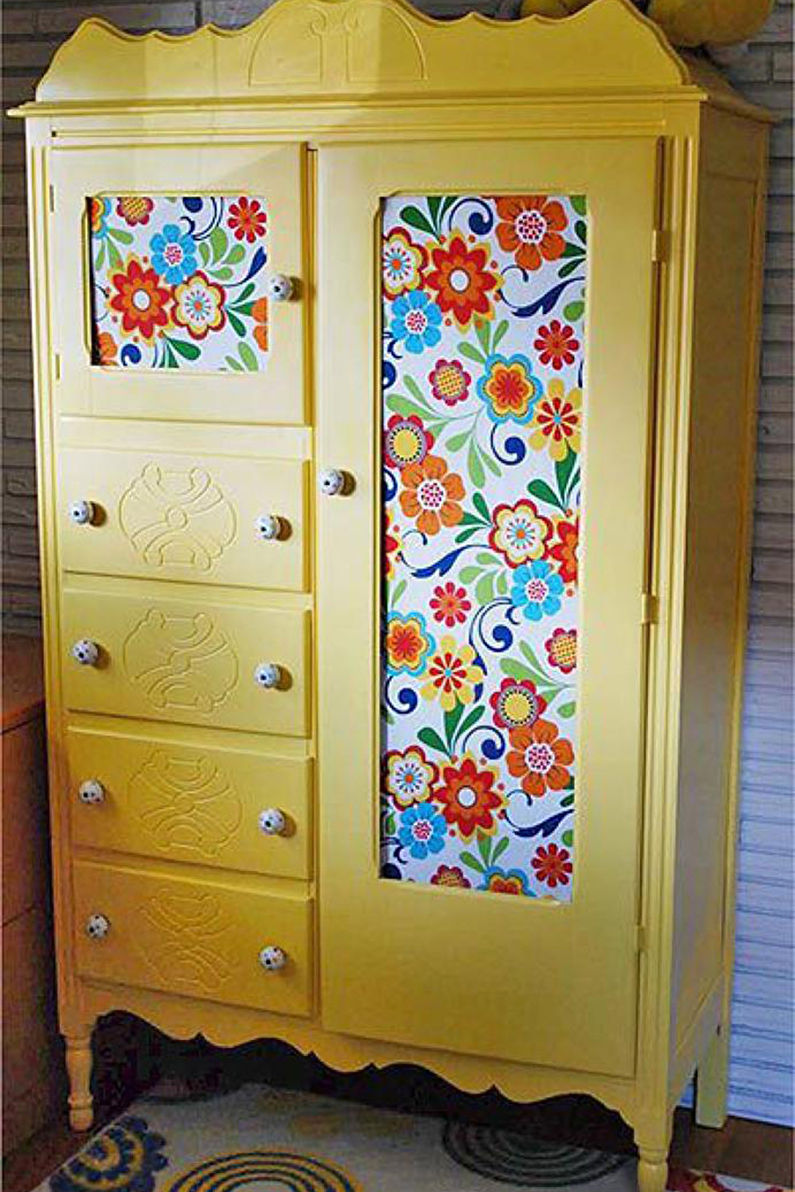
Painting is the simplest solution that gives you a ton of visual options.
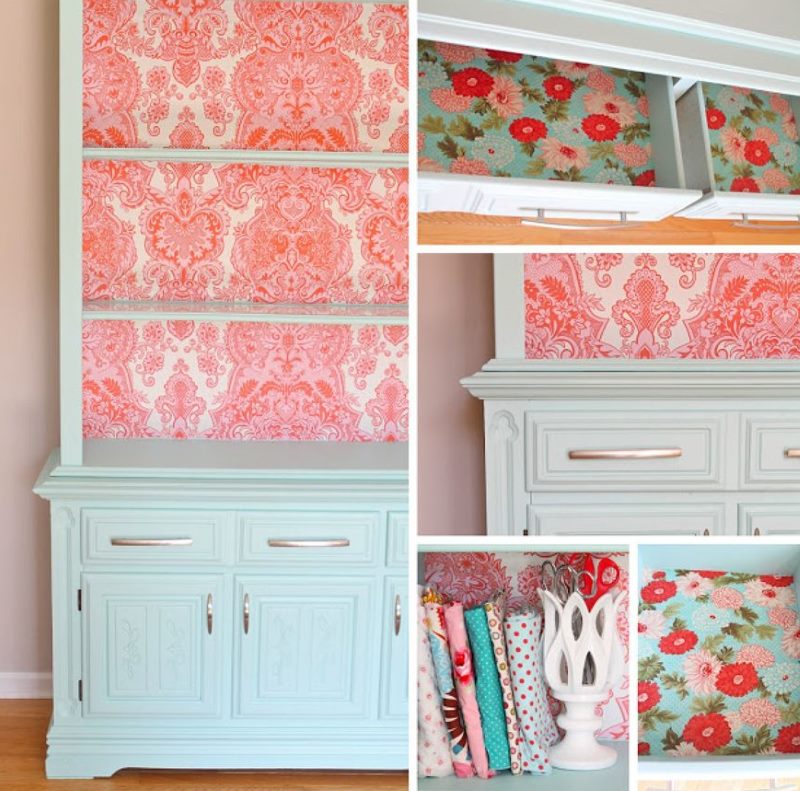
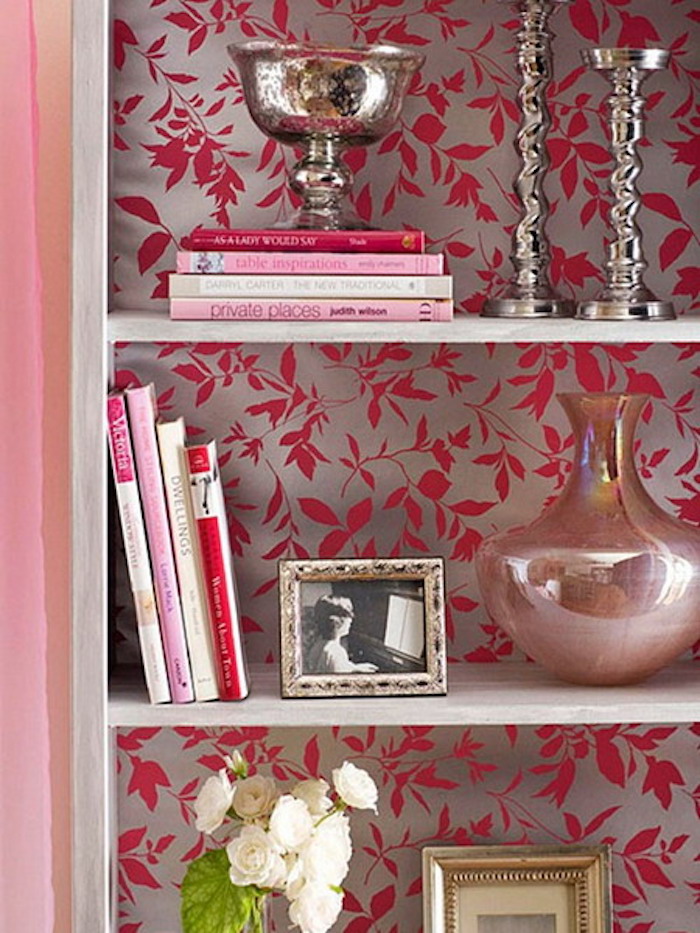
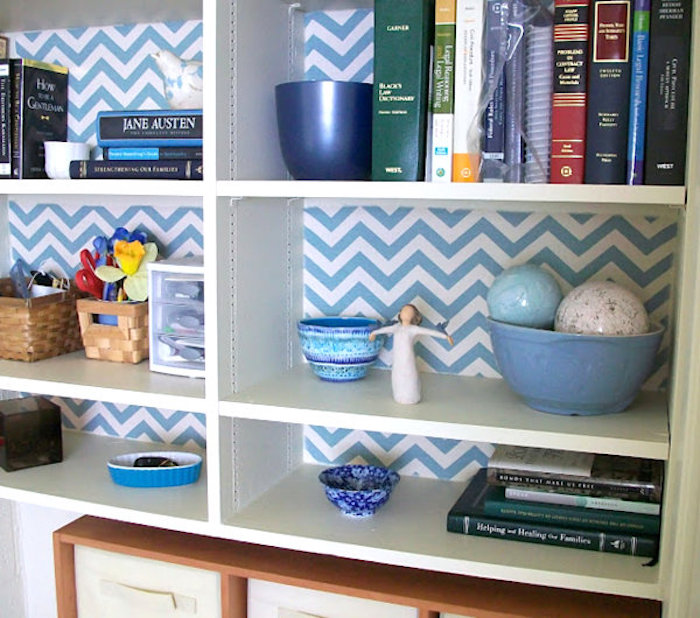
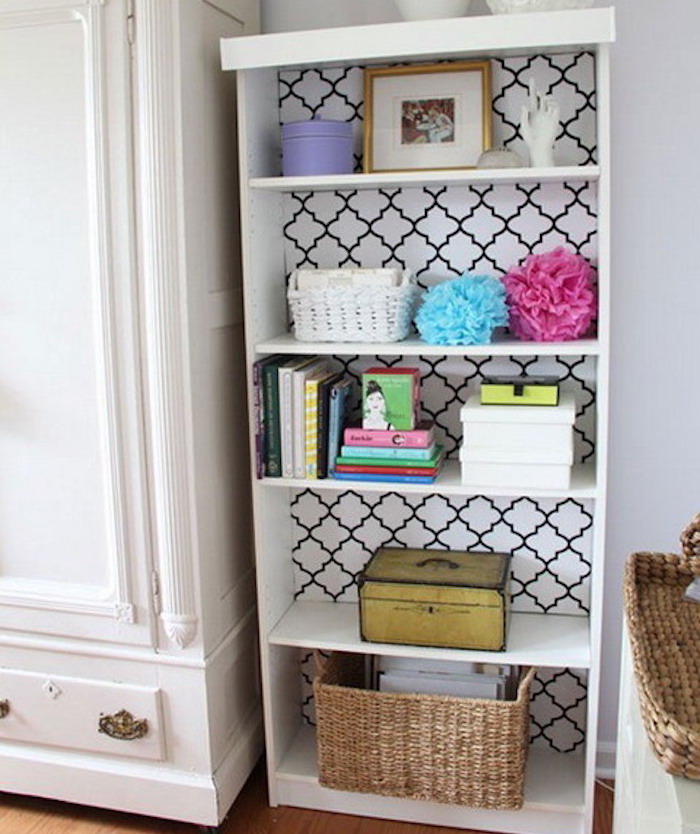
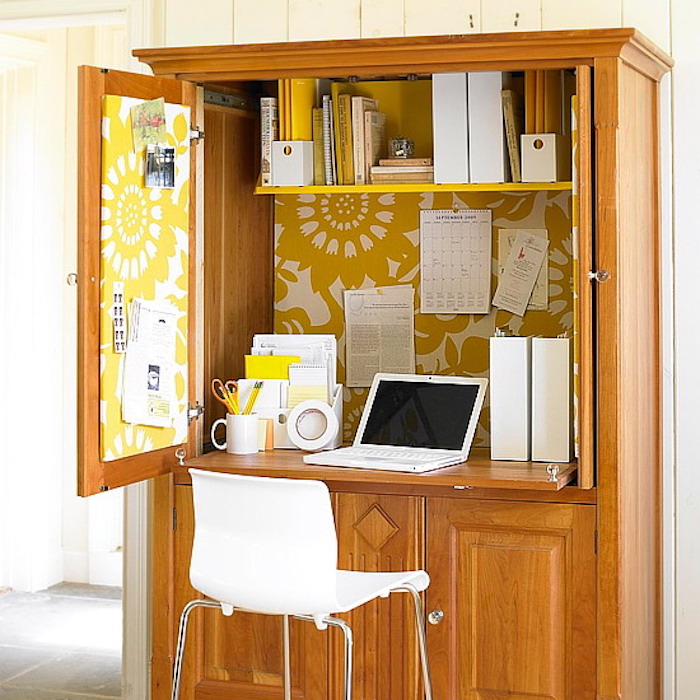
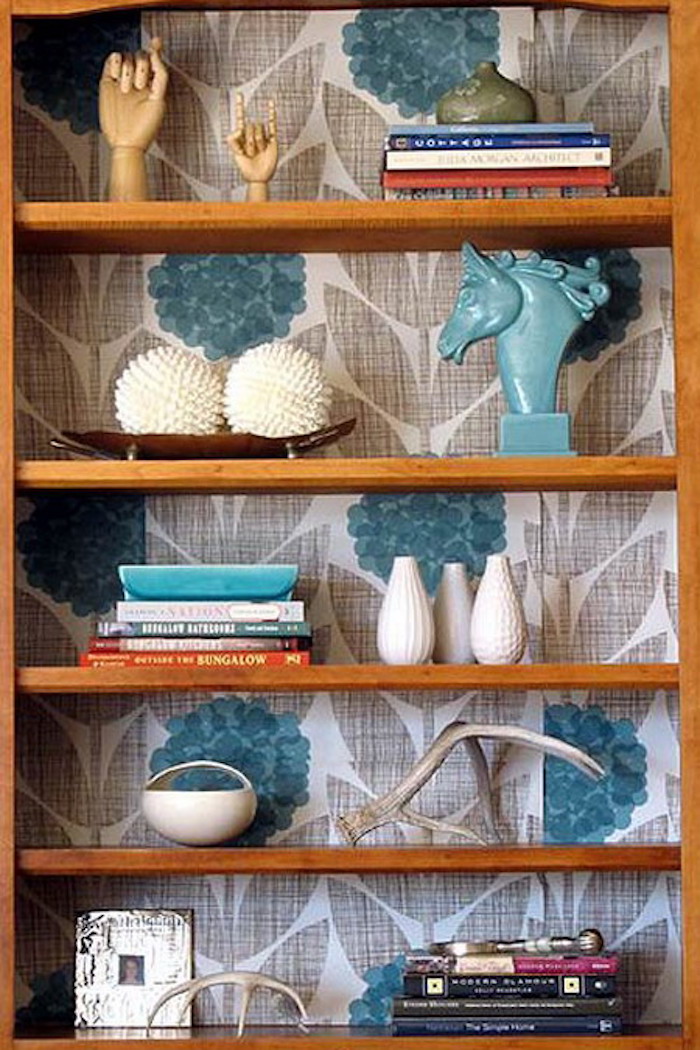
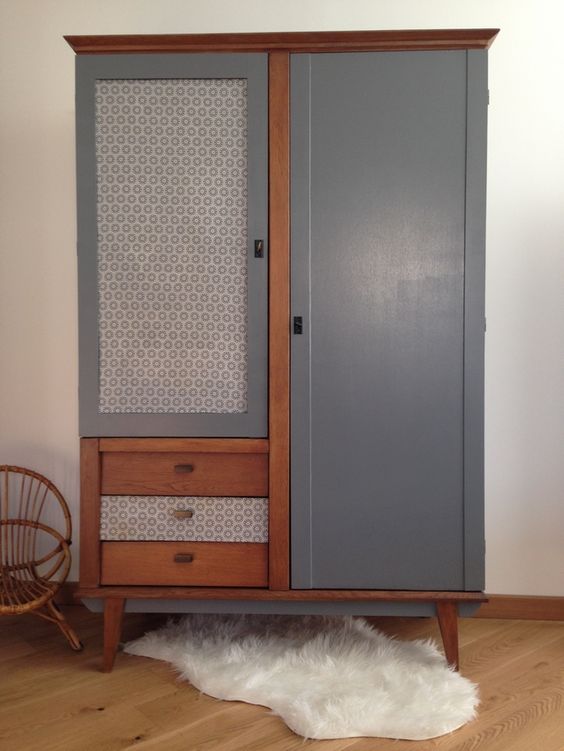
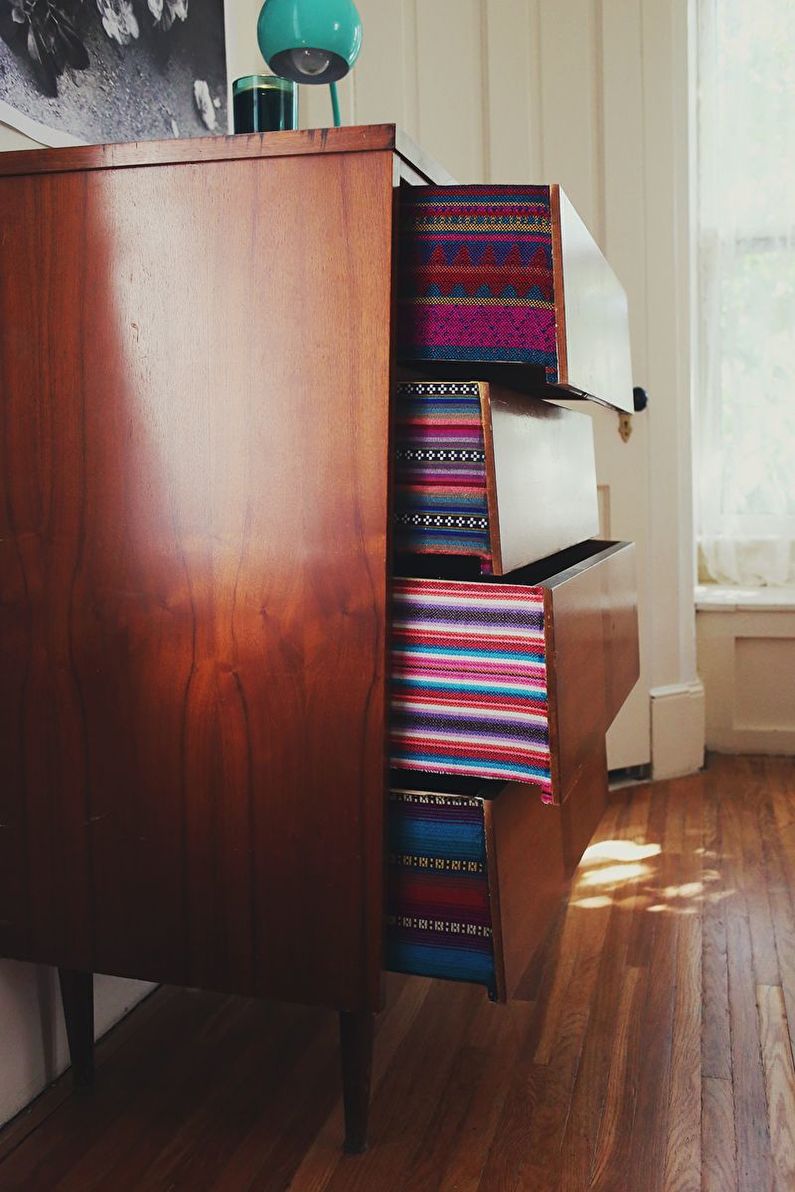
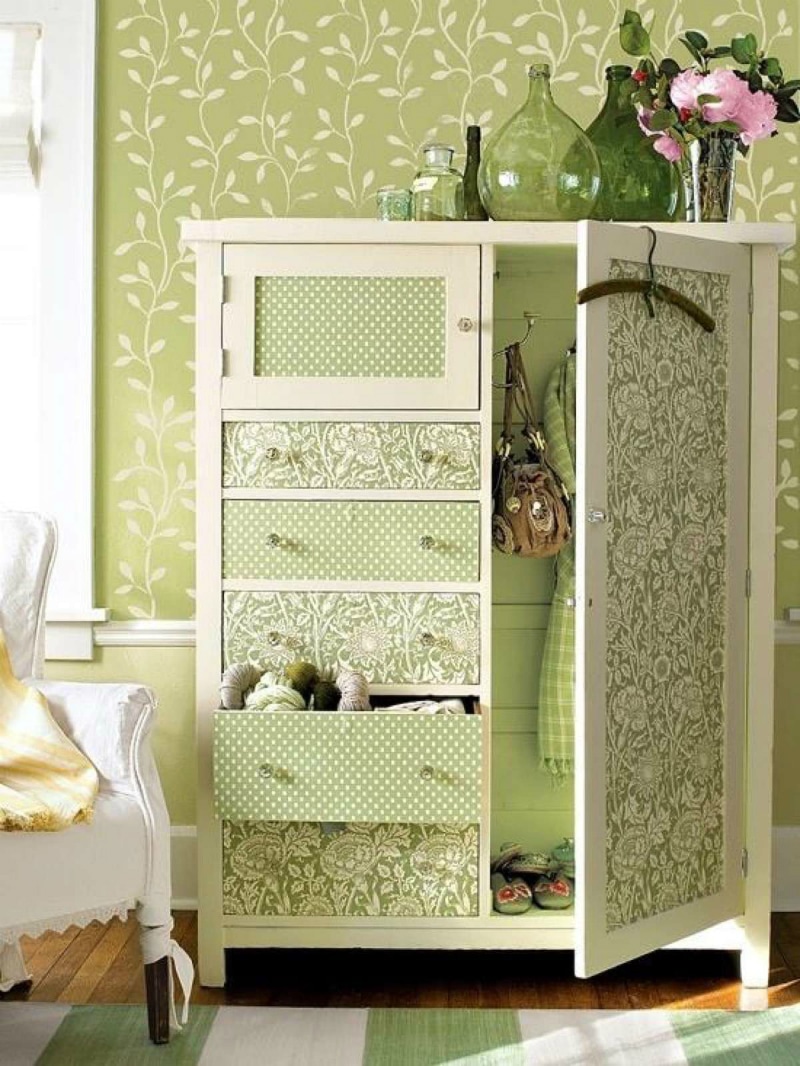
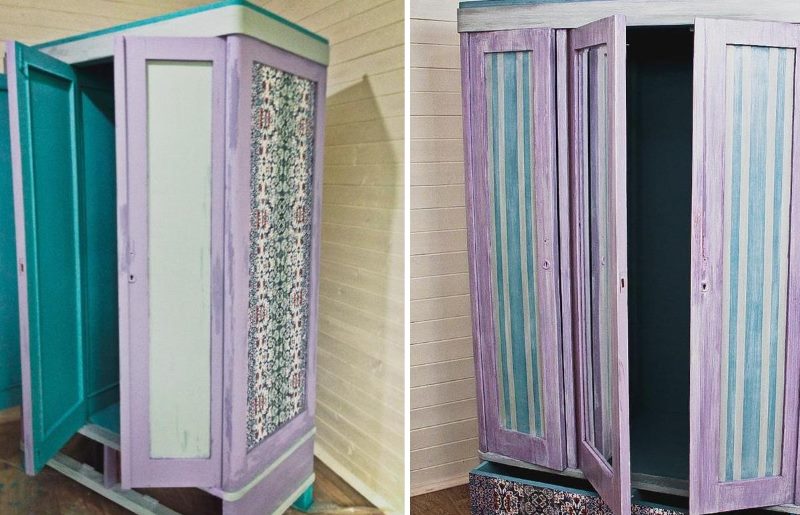
Wallpapering of the back wall and cabinet drawers
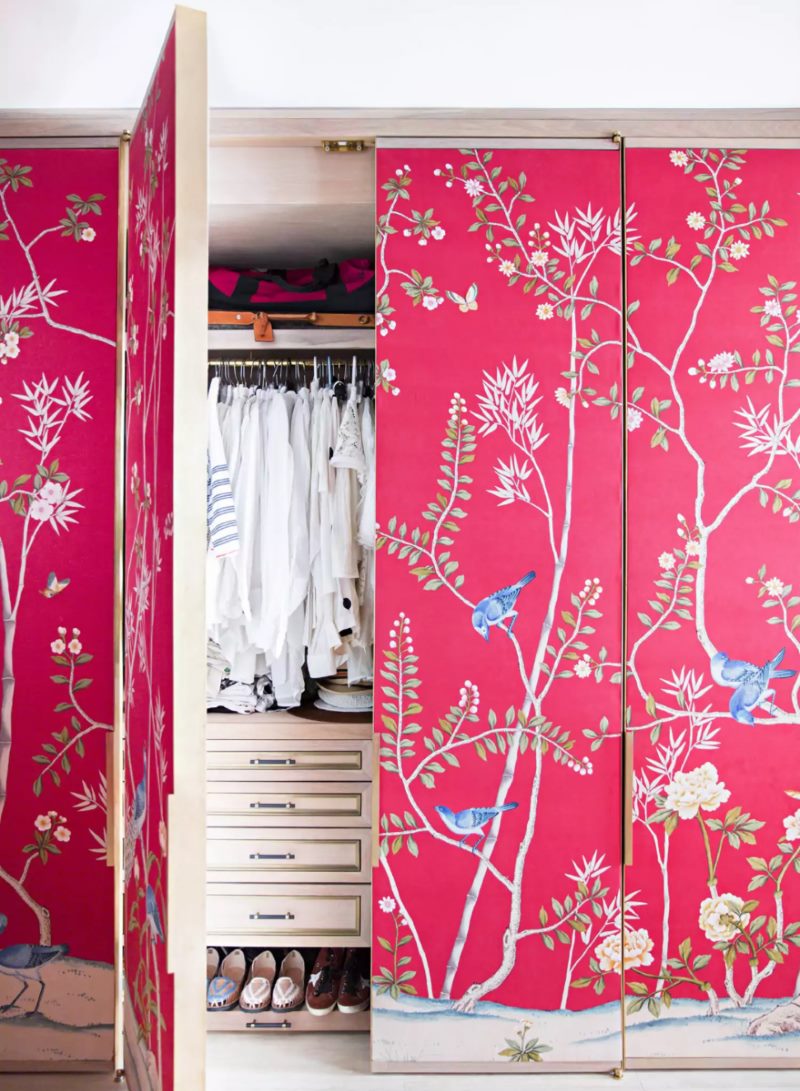
Wardrobe decoration with textile wallpaper
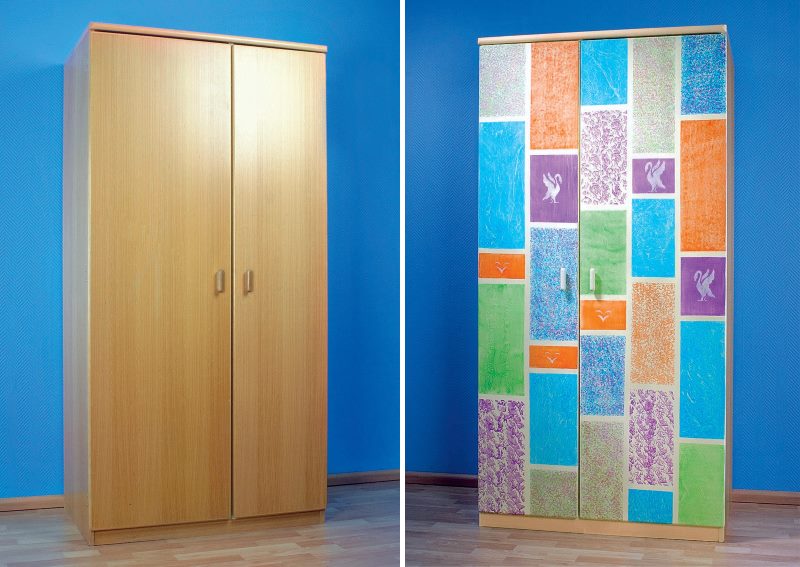
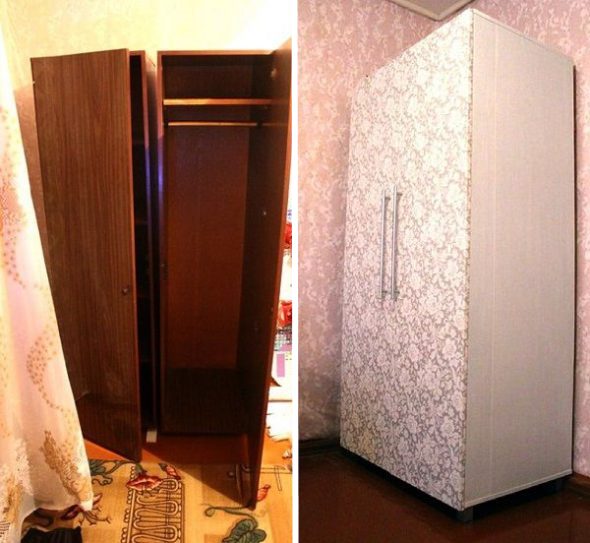
Alternative to wallpaper - self-adhesive film
The choice of the method of restoration of the old cabinet with your own hands depends on the personal preferences of the residents, as well as the style of the interior of the room where you plan to place it. Also of great importance is the material from which the cabinet is made. You will not succeed in aging facades from particleboard.
Wallpapering the cabinet is necessary if it is made of chipboard. This is a direct consequence of the properties of this material. At home, it is not possible to convert a laminated chipboard in a different way.
Paper wallpapers are easier to glue, but they are fragile, although the latter does not really matter if they are varnished.
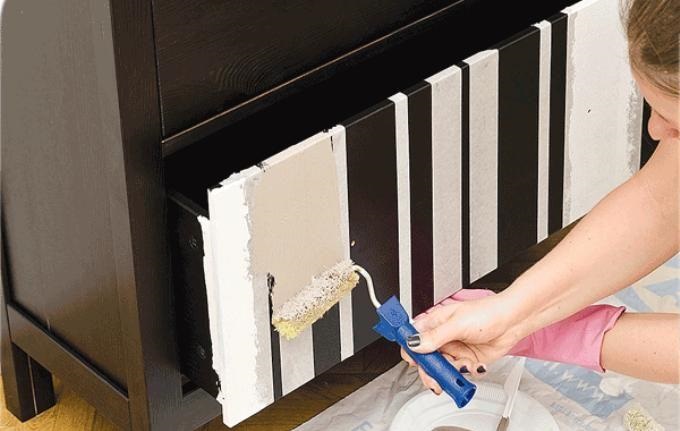
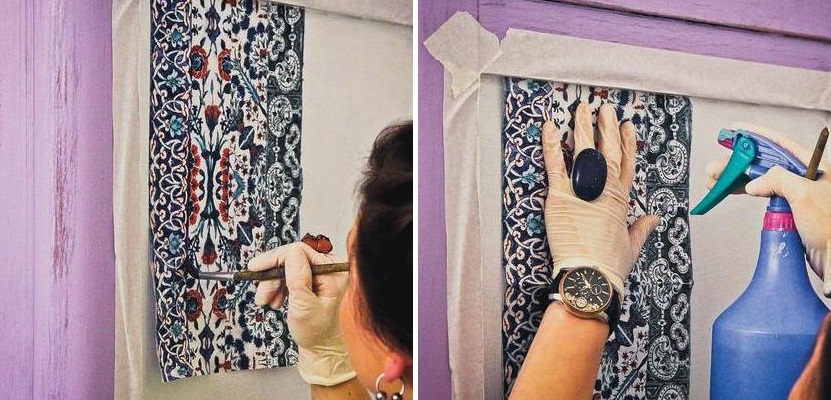
Consider the example with a cabinet made of chipboard. Before wallpapering the facades, they need to be removed. Further, if there are frames of battens on the doors, it is also desirable to dismantle them. A layer of acrylic paint is applied under the wallpaper.
This is an important condition not only visually, but also technologically. Acrylic paint has high adhesion (penetration), and itself, in turn, can well absorb the subsequent layers of glue.
Before applying the paint, the doors are cleaned with sandpaper (helps to increase absorption). After applying several layers of the previously selected coloring, as well as the complete drying of the facades, they immediately proceed to wallpapering.A layer of glue is applied to the wallpaper sheet and to the door.
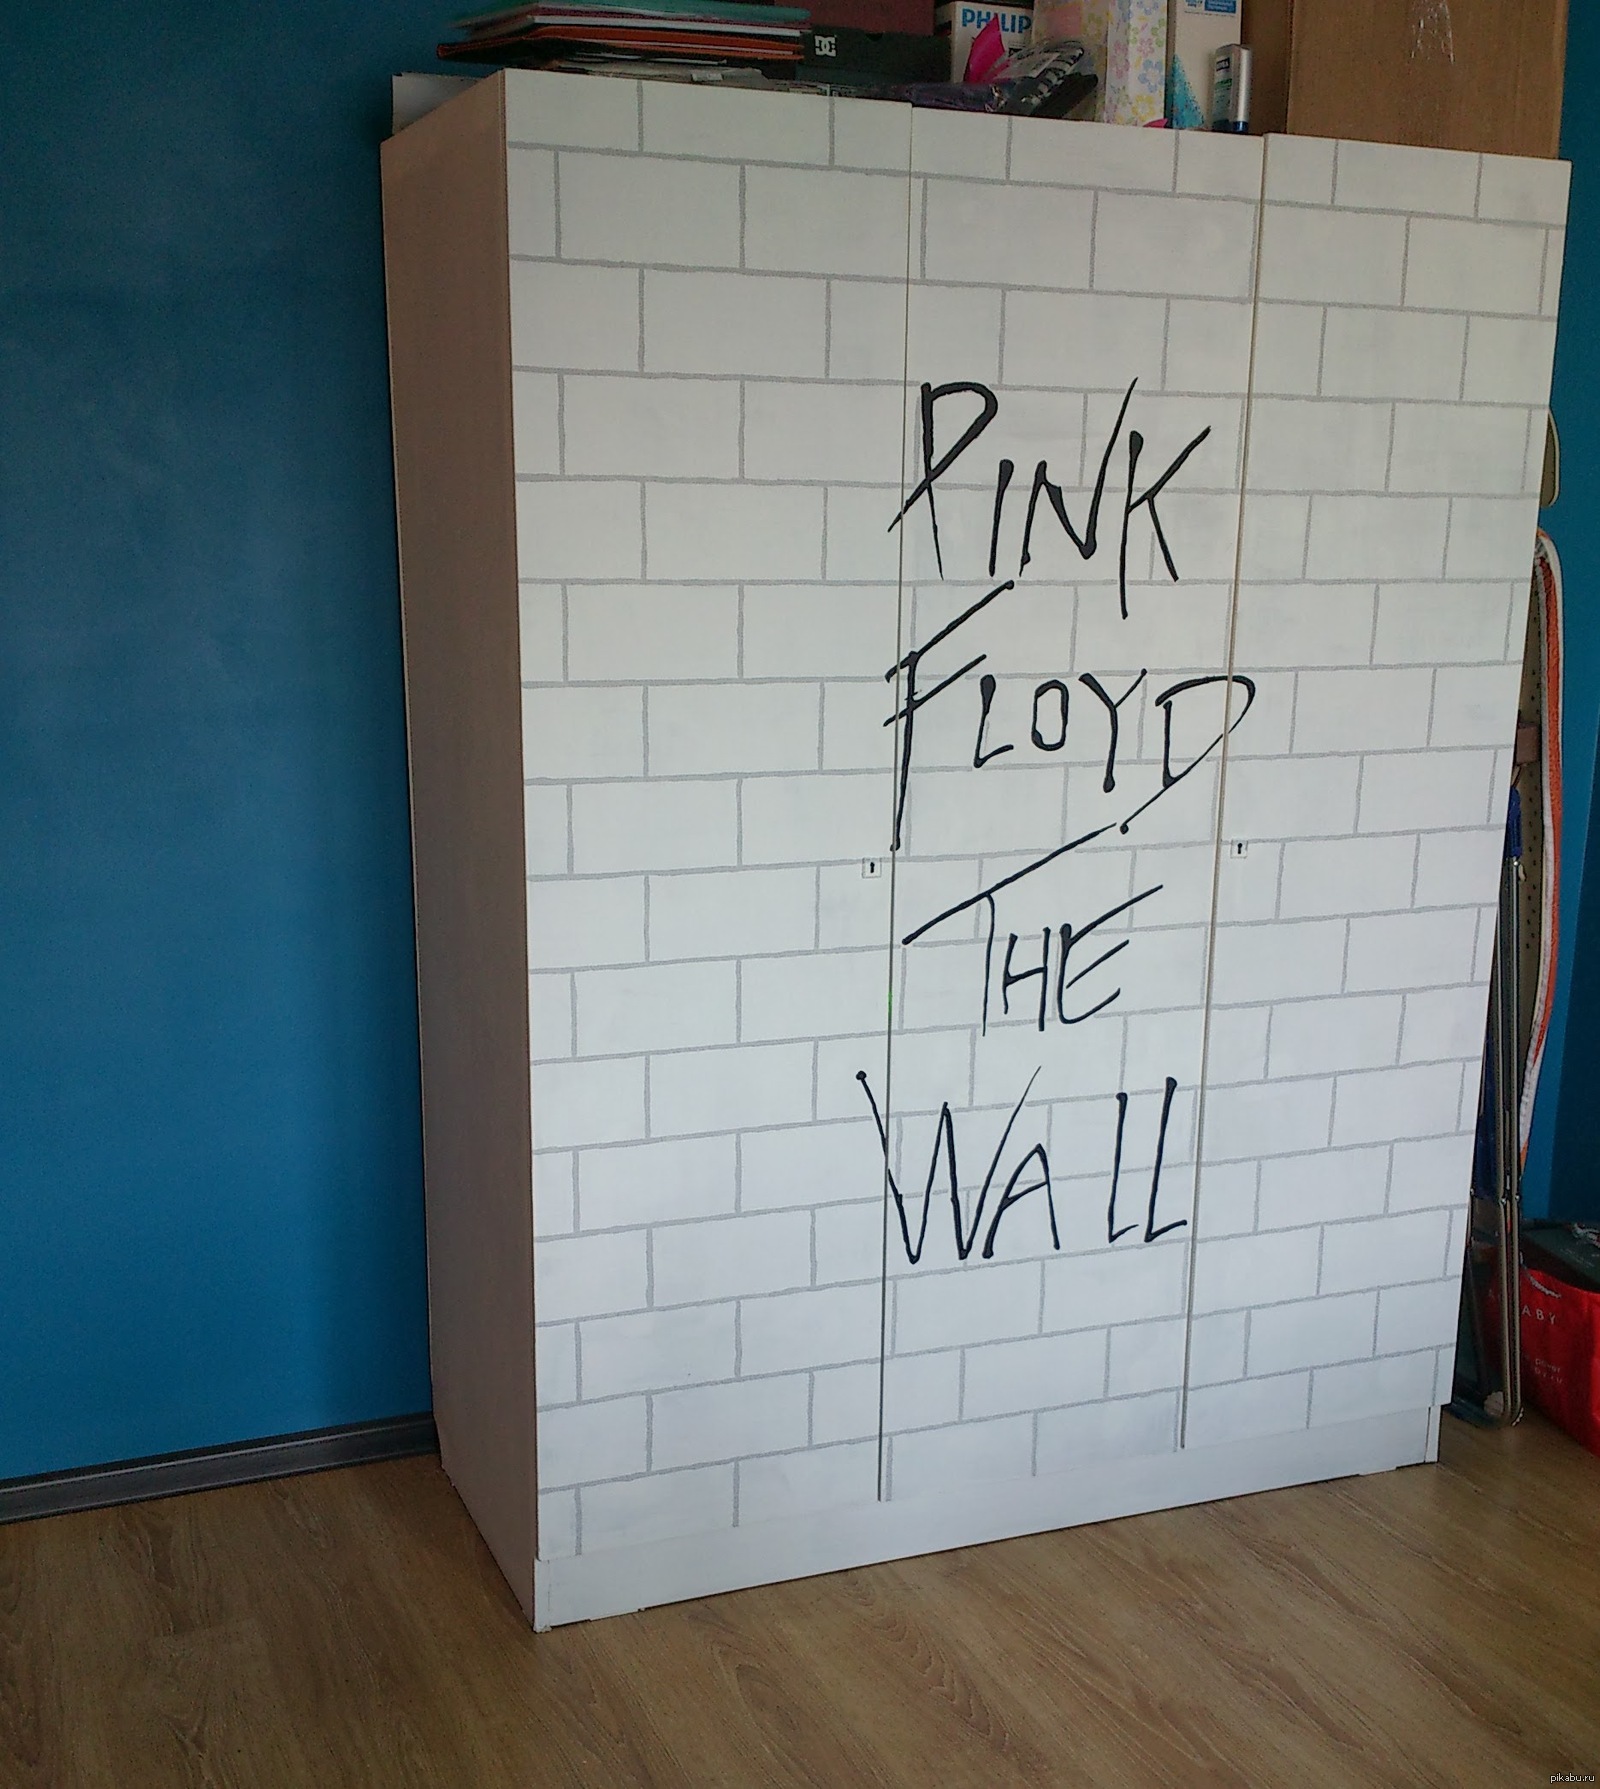
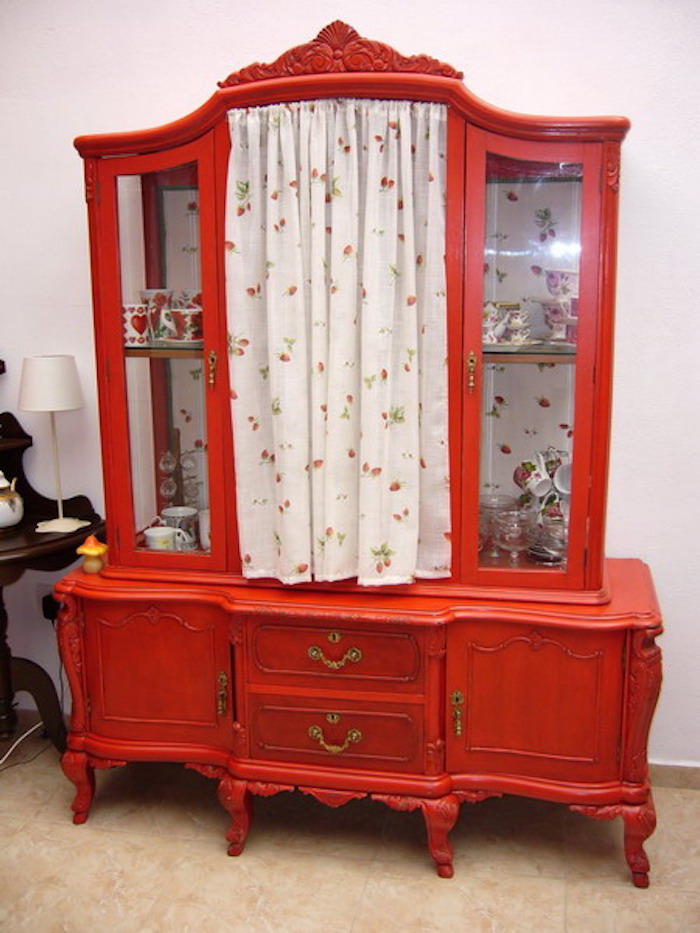
The doors of this cabinet are pasted with the wallpaper remaining after the repair of the room
If paper wallpapers are used, then you cannot smear them with glue, since they are very thin and will tear at the first opportunity. In this case, the adhesive is applied only to the elements of the old cabinet.
Separately, you should paint the frame, which is subsequently attached to its original place. The interior space can also be glued.
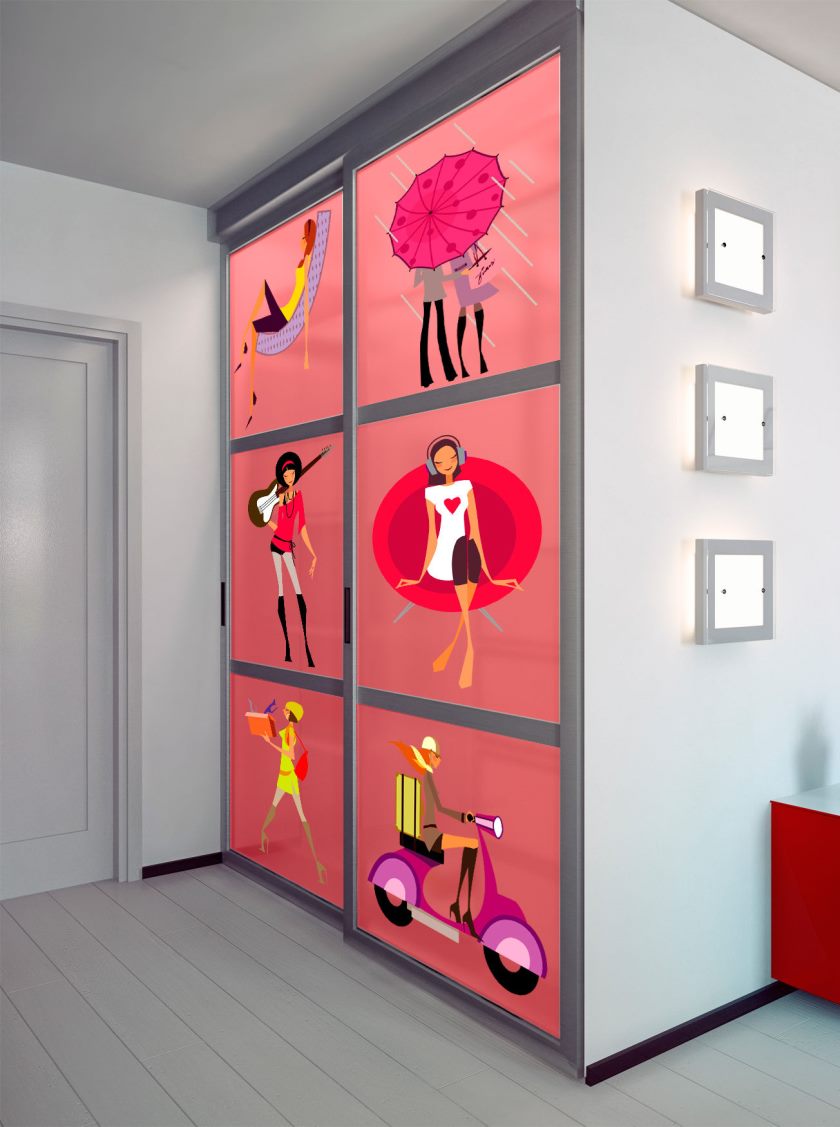
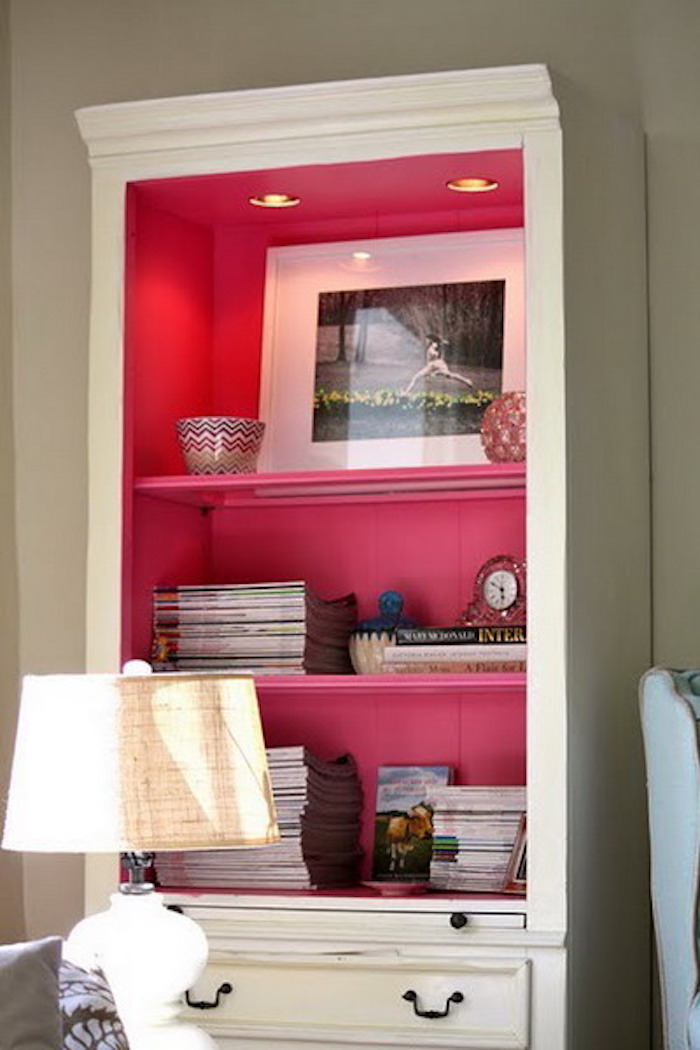
Another decoration when the cabinet merges with the walls
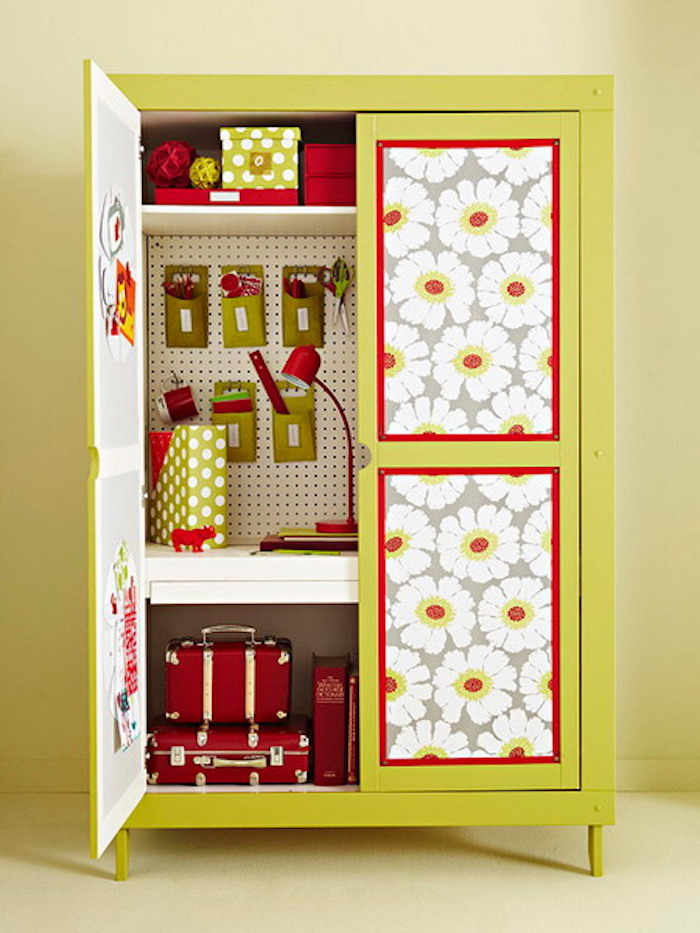
Do not forget about the compatibility of the color palette, as well as the wallpaper pattern with the overall design of the room. A do-it-yourself sideboard is required to complement the interior and match it.
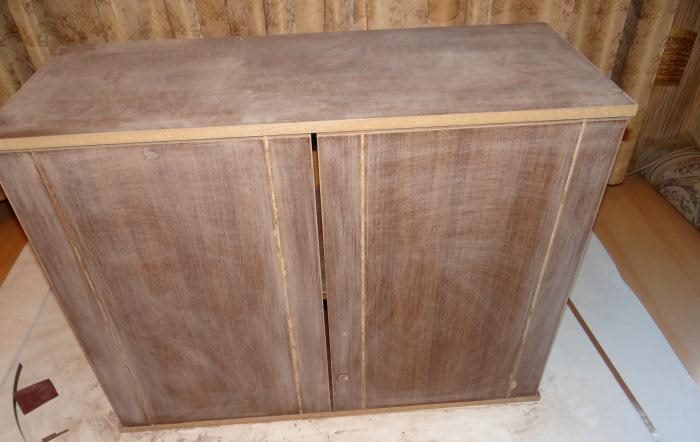
This method is more time consuming than described above. For the decor of an old antique cabinet, only natural wooden materials are suitable. There is no need to completely disassemble the cabinet. But you have to transfer it to the street.
Attention. The aging process of wood is accompanied by a large amount of waste wood chips and dust.
Rust must be removed from metal parts. Large defects of wood are covered with putty
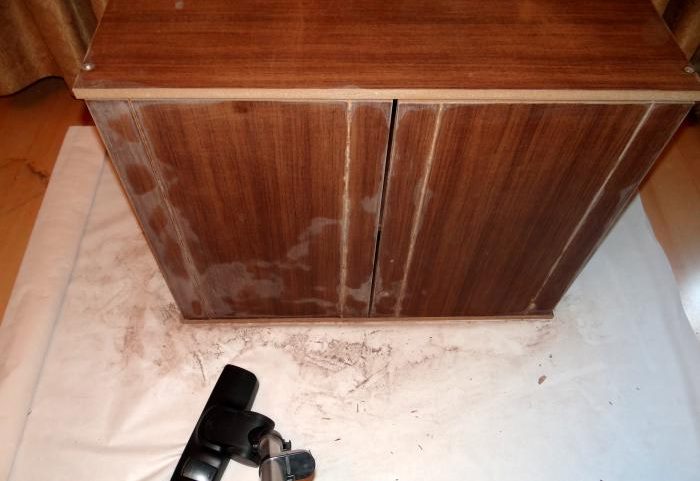
Panels, frames are cleaned of old varnish, paint. Then they must be carefully sanded. In the process you will need to use:
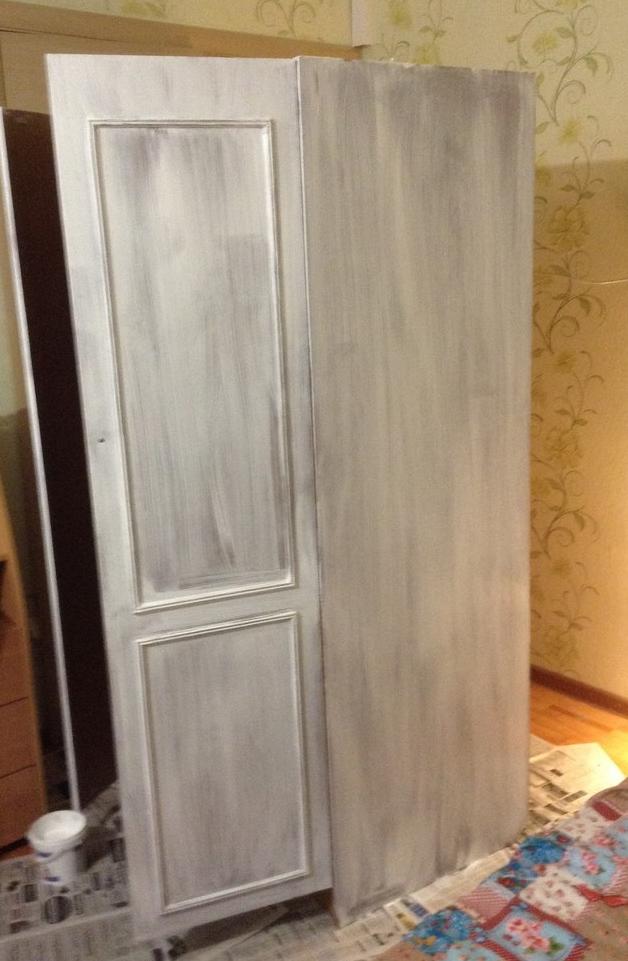
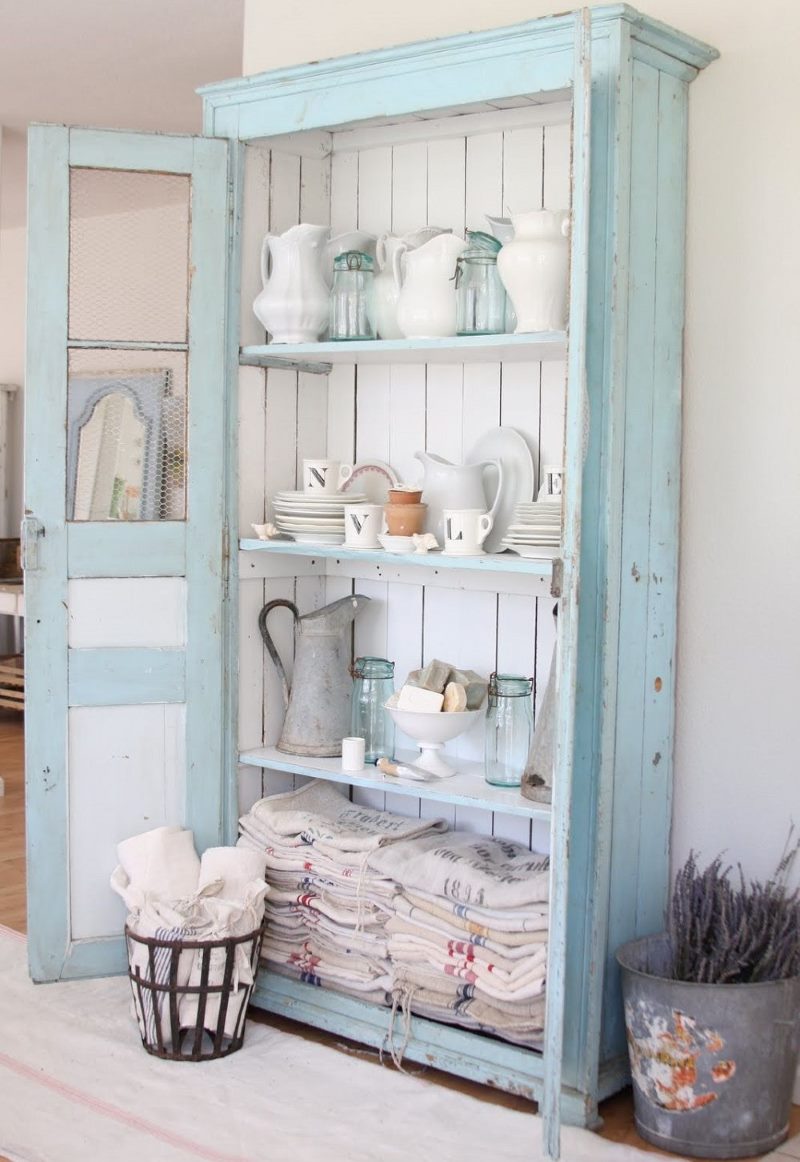
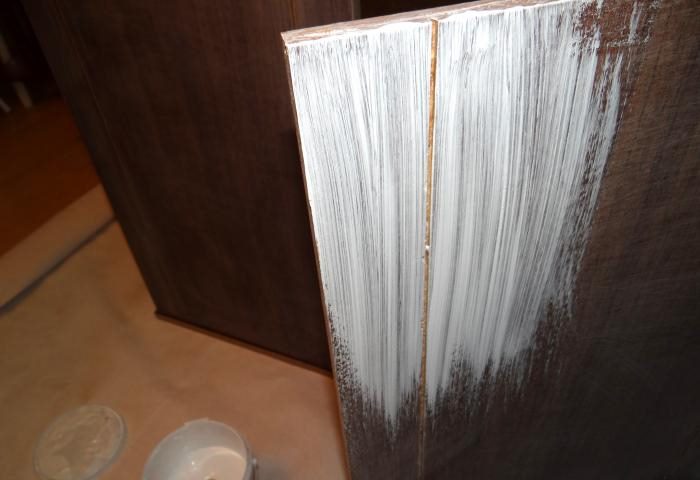
Aged wood surface can be obtained using brushing technique
You can learn more about the method of aging wood by watching a video on YouTube.
After carrying out grinding work, the resulting wood is treated with a colored stain, wait for its complete drying, and then open with varnish.
Using this method, the furniture acquires a century of exposure. This method is perfect for decorating cabinet surfaces with your own country-style cabinets.
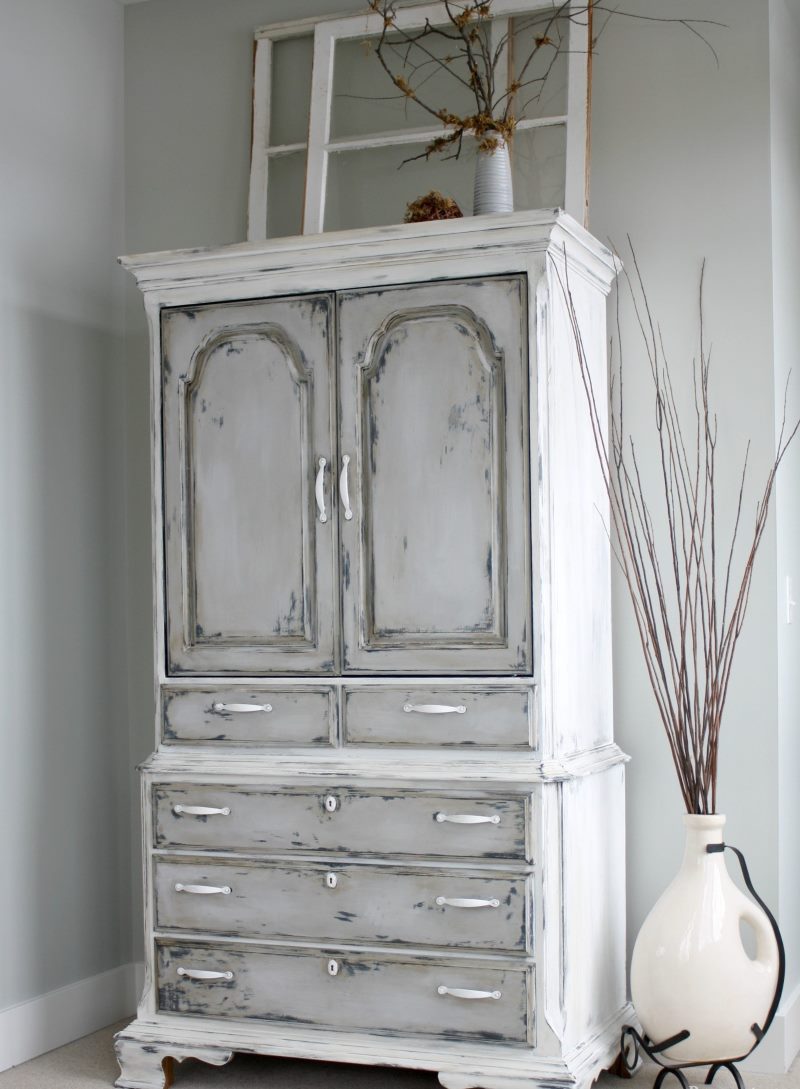
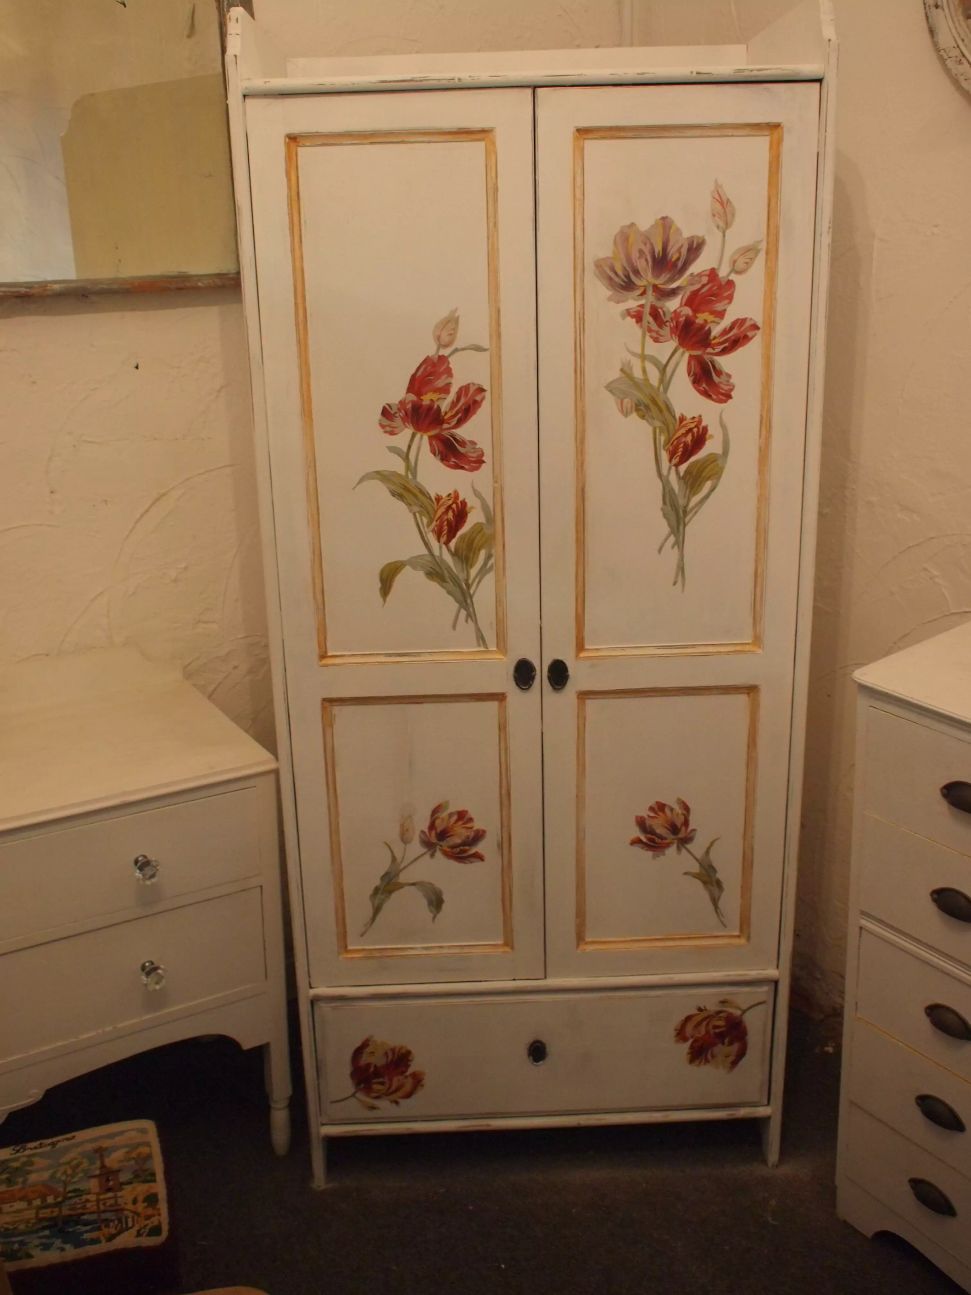
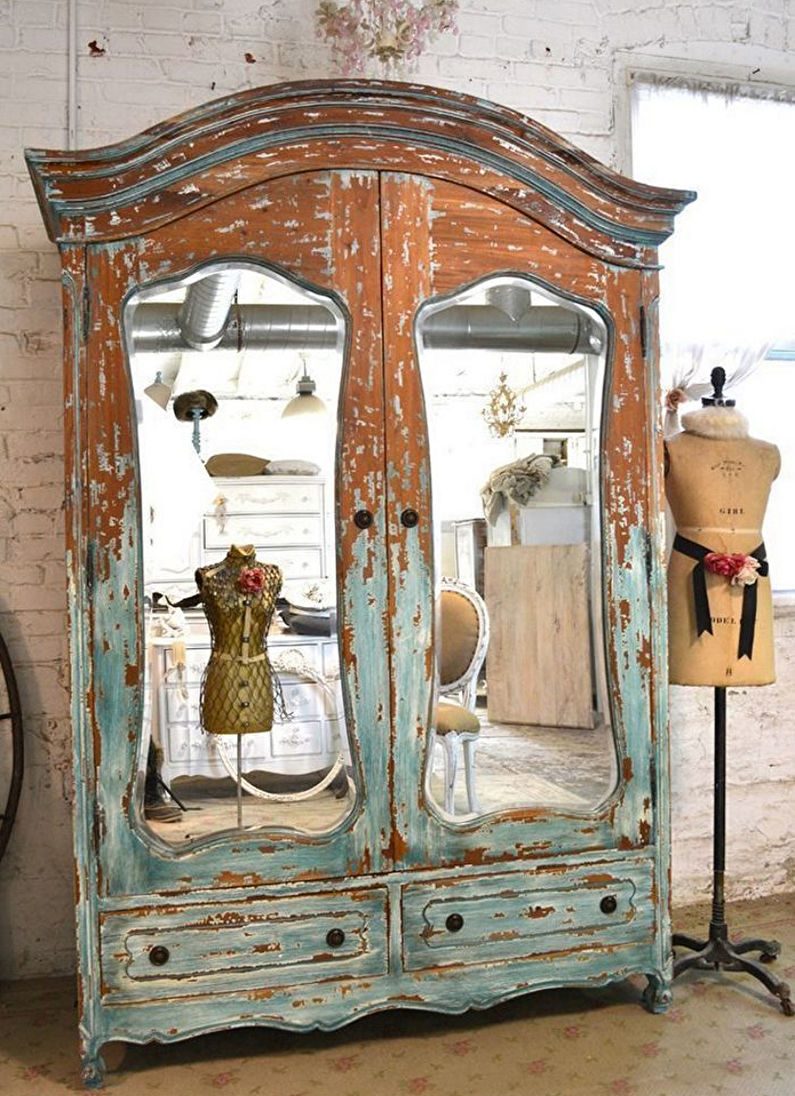
Such a closet fits perfectly into the rustic interior of the living room or bedroom
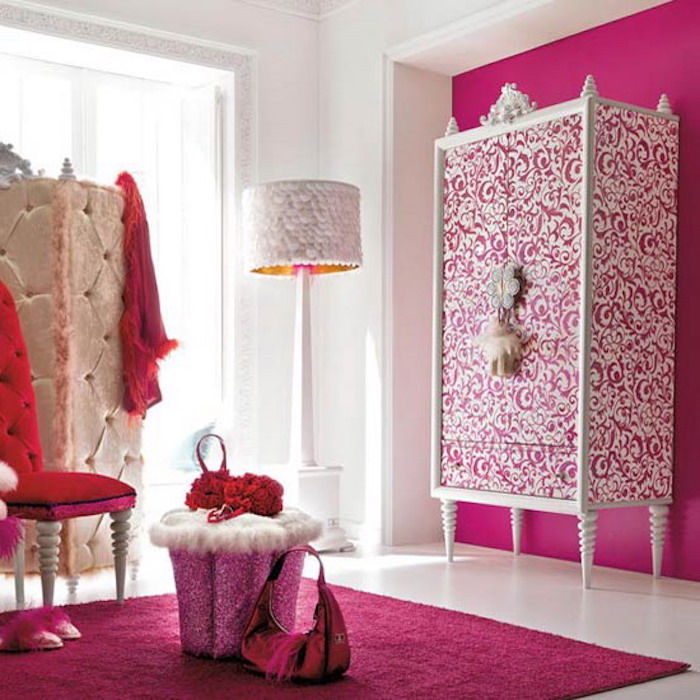
Art Deco received the greatest popularity at the end of the twentieth century. Characteristic features of this design are luxury, brilliance, high cost of finishing materials. The colors of the interior and furniture are mostly white, black, gold. Accent is possible with violet, red, green and brown colors. Black and white portraits of famous people of the past will be appropriate here. This style is inherent in the gangster layers.
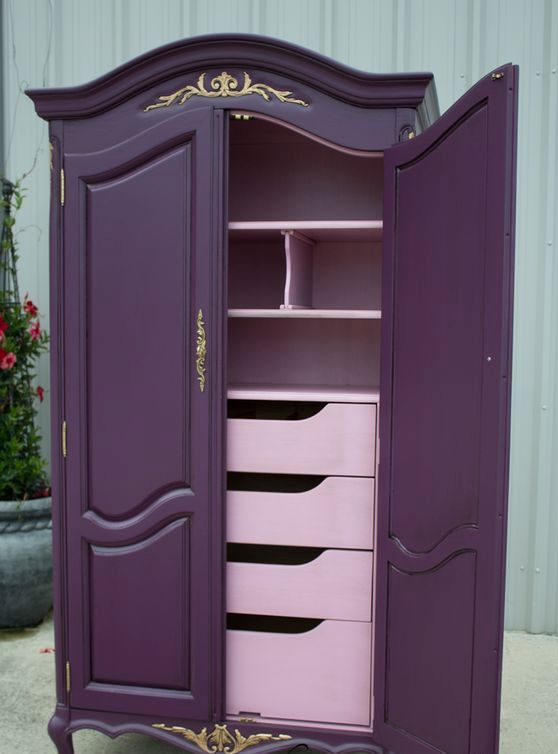
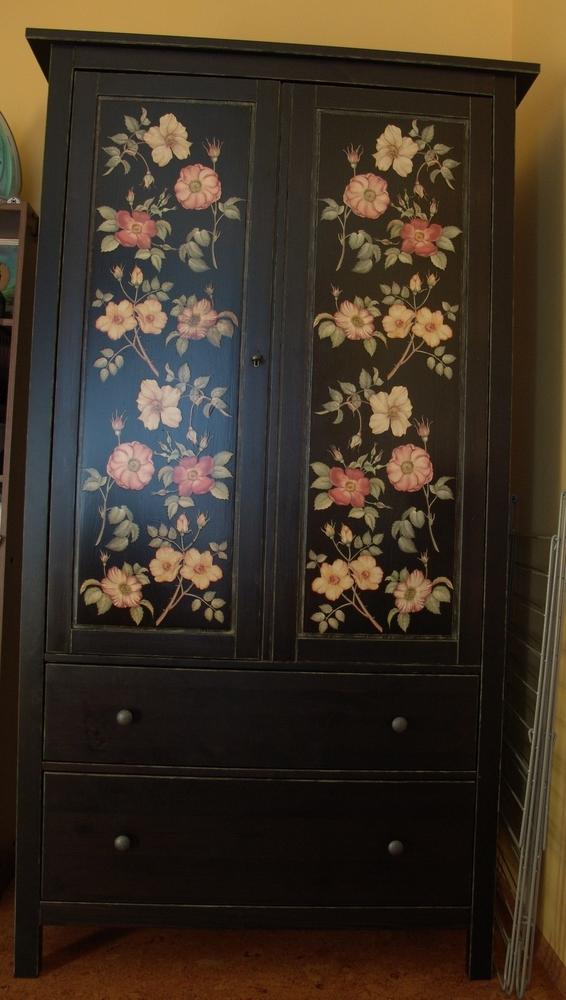
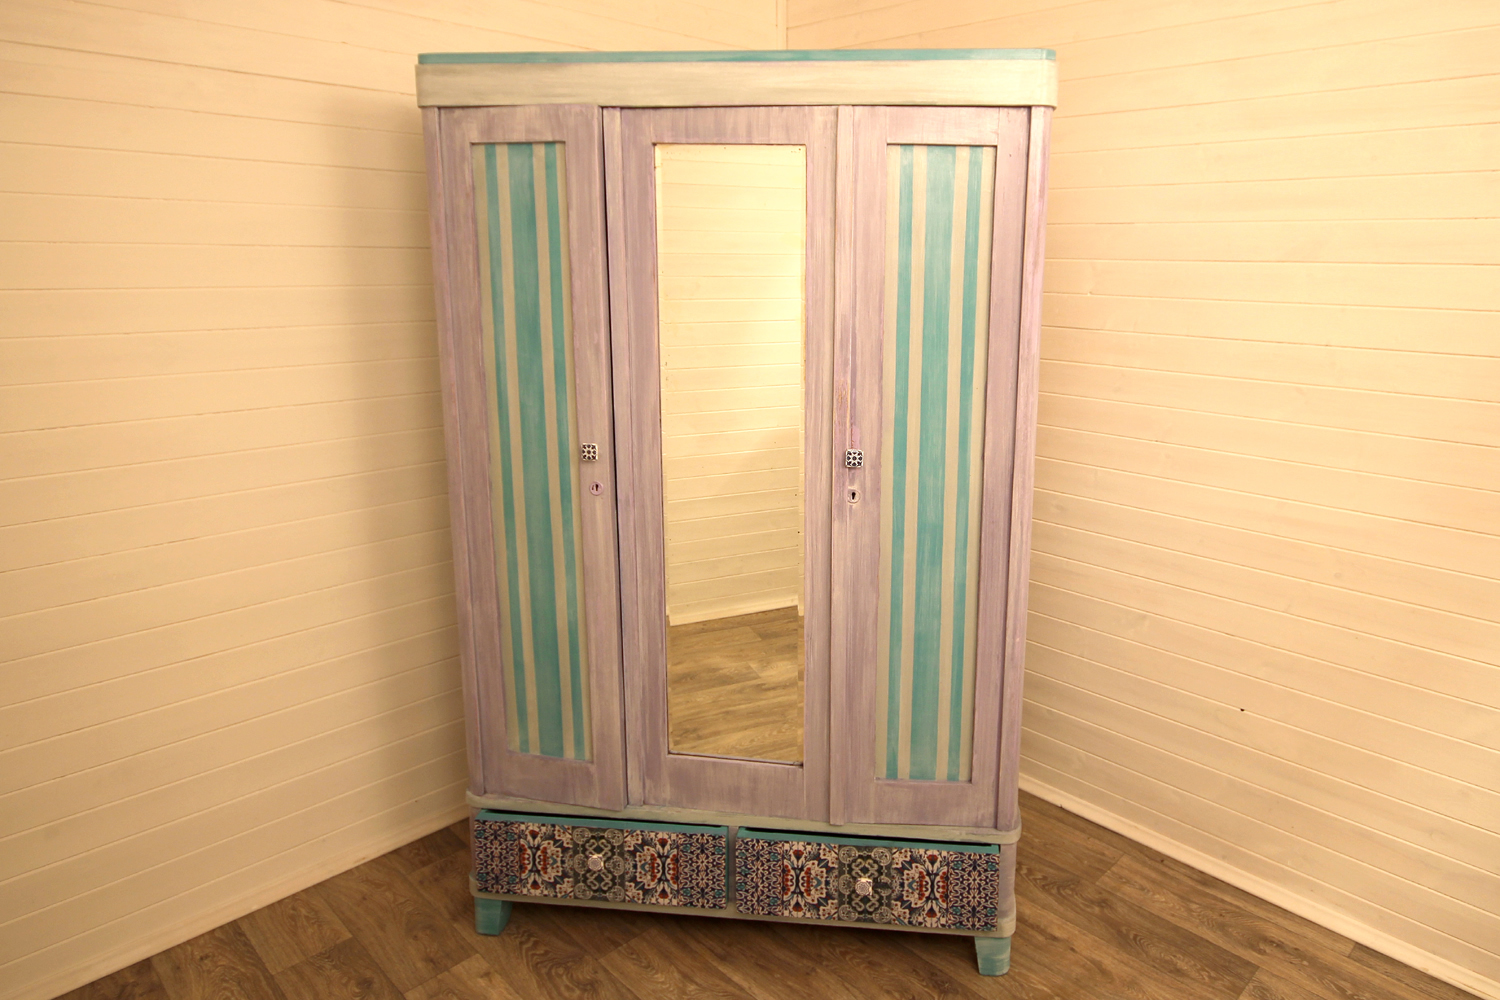
Stylish wardrobe of dark purple color with golden elements
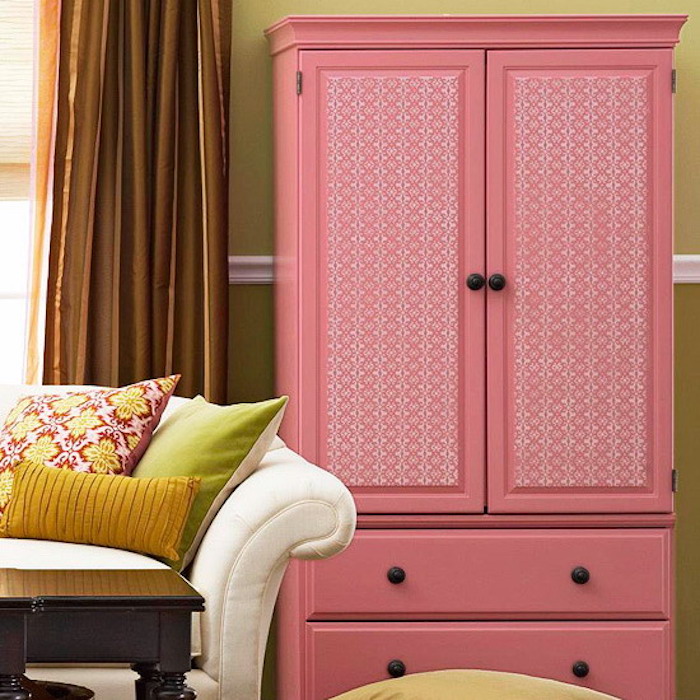
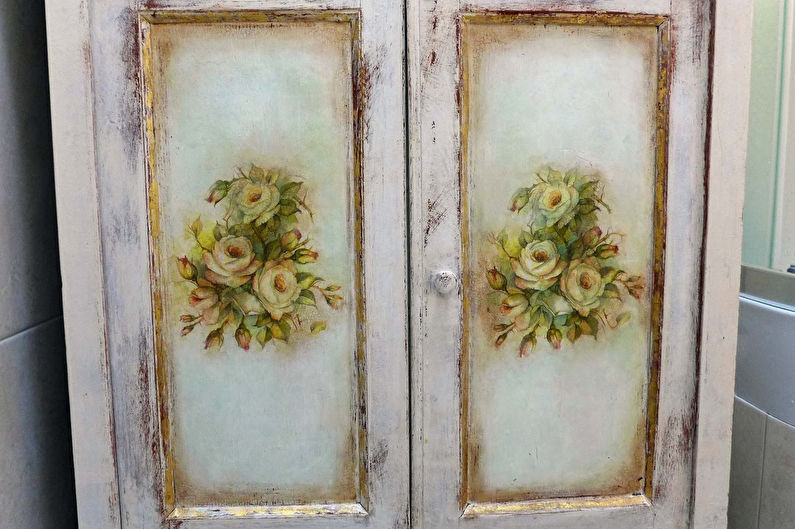
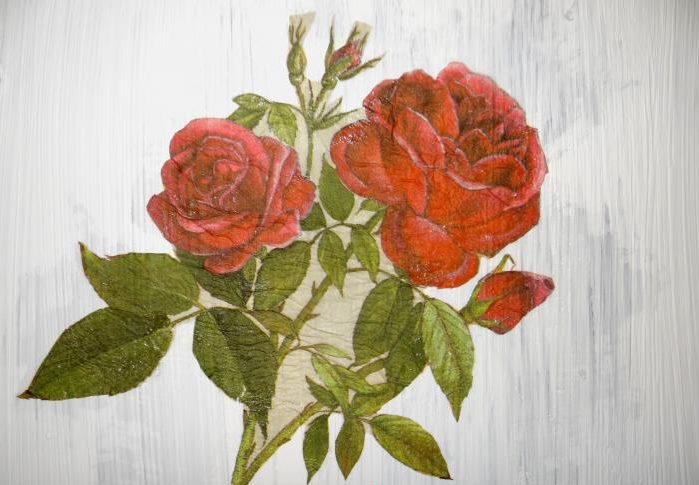
In the design of furniture with your own hands, this direction can be expressed in different ways. Regarding cabinets and chests of drawers, it can be either plain facades and panels painted with acrylic paint in one or two colors, or decorated furniture using decoupage.
Decoupage napkins or film is a universal and practical way to give the interior, as well as creative furniture. Its forms, patterns, colors, prints are widely represented by paint and varnish stores. In Art Deco, these may be the same faces of bandits of the past, or, as it has become very fashionable, the figure of the unforgettable Marilyn Monroe.
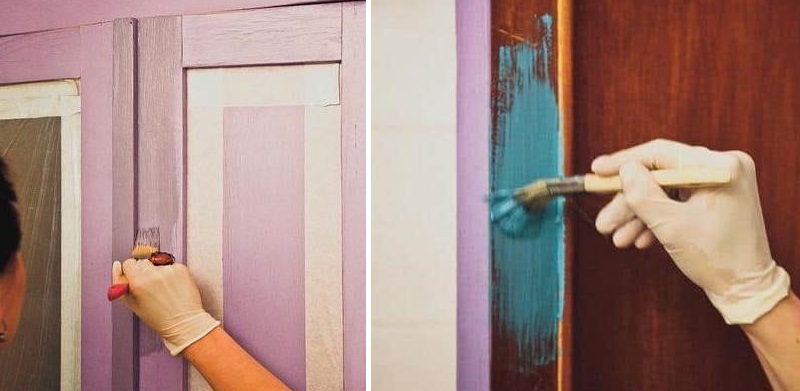
First, the entire cabinet is painted in primary colors. To make the borders clear, use masking tape
Then decorate the panels using the decoupage technique
Finishing stage - applying a protective layer of varnish
It will be interesting to use a special varnish with cracking properties when coating decoupage furniture facades.
The pattern made of the mosaic with one’s own will look original. To do this, you need to have several unnecessary porcelain or ceramic plates, mainly black and white and gold. The plates are broken into small pieces, and then a pattern or figure is assembled from them according to a stencil.The resulting fresco is poured with epoxy resin or plastered with tile plaster in the color of the interior.
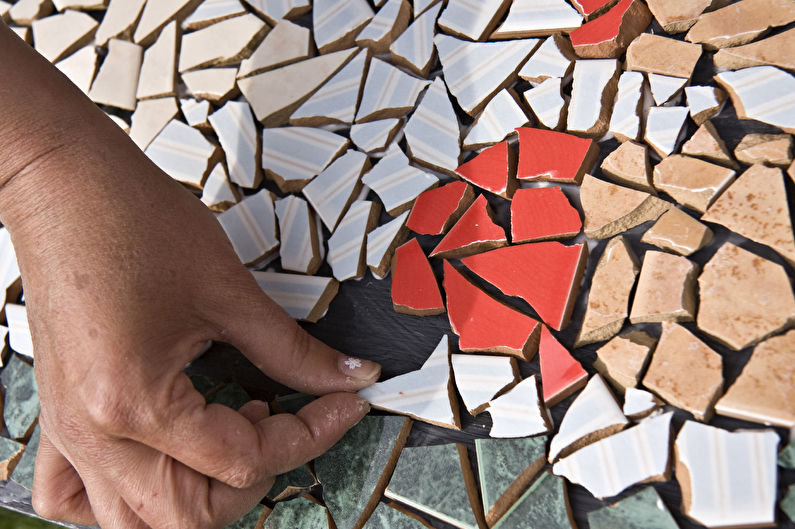
Pieces of tile - a great material for the original decor
Furniture fittings, small parts, as well as a rack frame, are painted with a golden shade of acrylic paint.
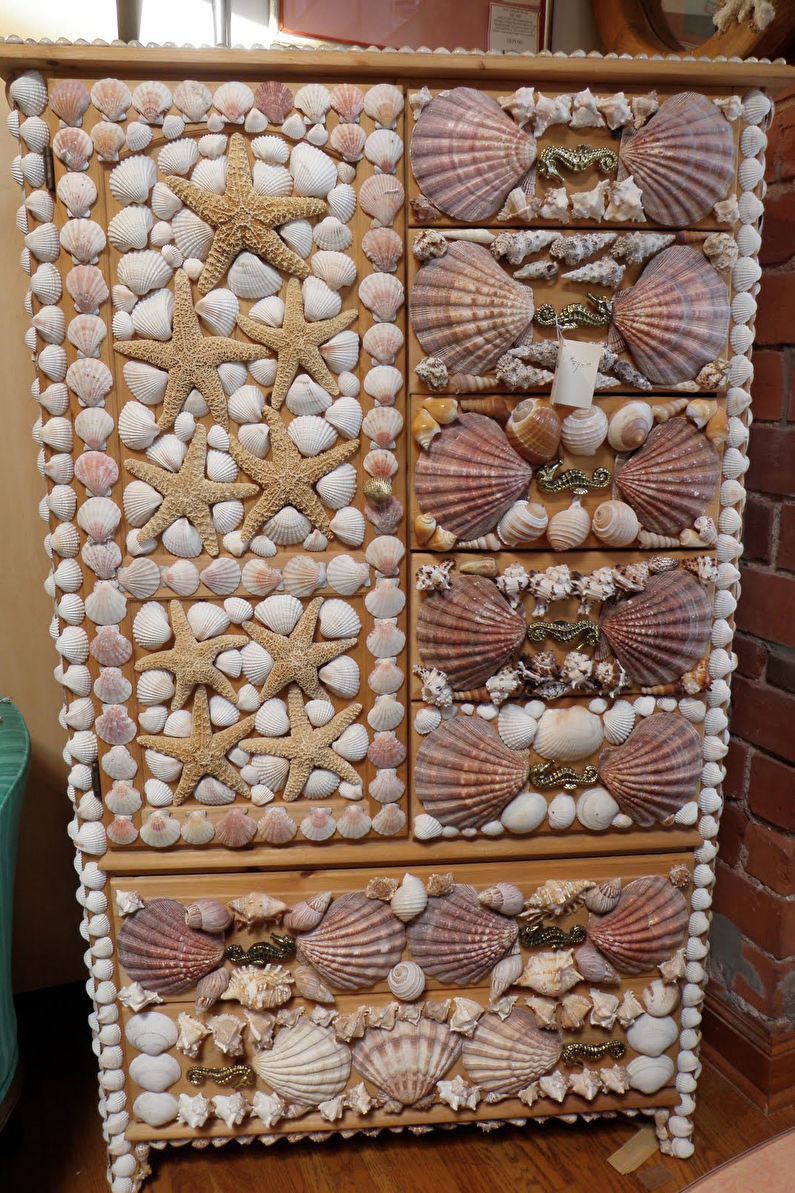
Chic cabinet decor with sea shells fixed to the prepared surface using hot melt adhesive
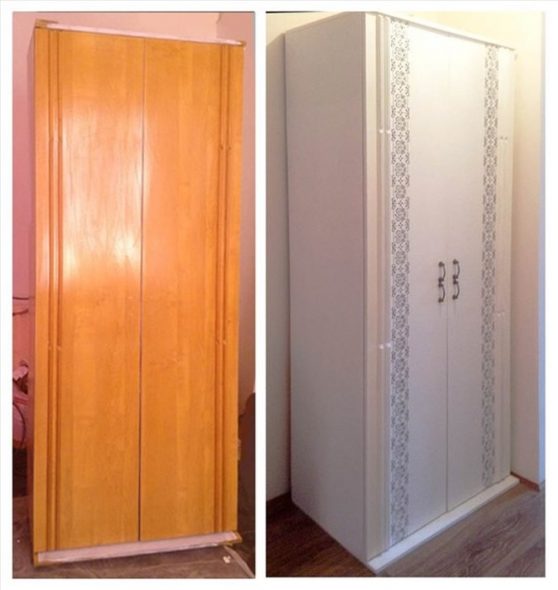
A chipboard cabinet usually has a laminated surface. Before gluing the wallpaper, the laminated layer must be removed completely. This process is very time-consuming, so it is better to use decoupage film.
The varnished layer must be cleaned in two stages using a different-grain skin
With the help of decoupage film, any old Soviet wall will receive the face of a European sliding wardrobe. Before decoupage, the surfaces are treated with a degreasing compound, which is suitable as:
It is better to vacuum the surfaces first and then wipe them with a cloth with a degreasing agent.
After processing, the surface is painted with acrylic paint in several layers, each of which should dry well.
Gently disperse the paint, avoiding stains and smudges
Decoupage film is carefully applied to the panel (door), pre-lubricated with glue. Further, the folds are smoothed out with a sponge and the plane is equal.
Cut the pattern from a decoupage napkin and glue it on the surface of the cabinet
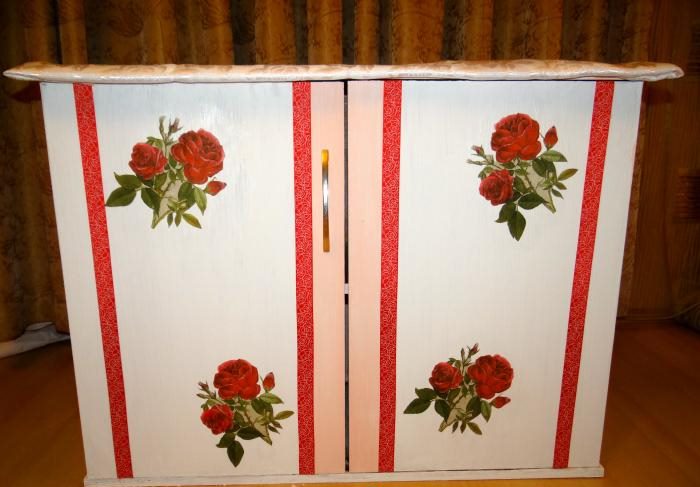
You can additionally decorate the cabinet with ribbon strips
After the glue has completely dried, varnish is applied to the resulting surface.
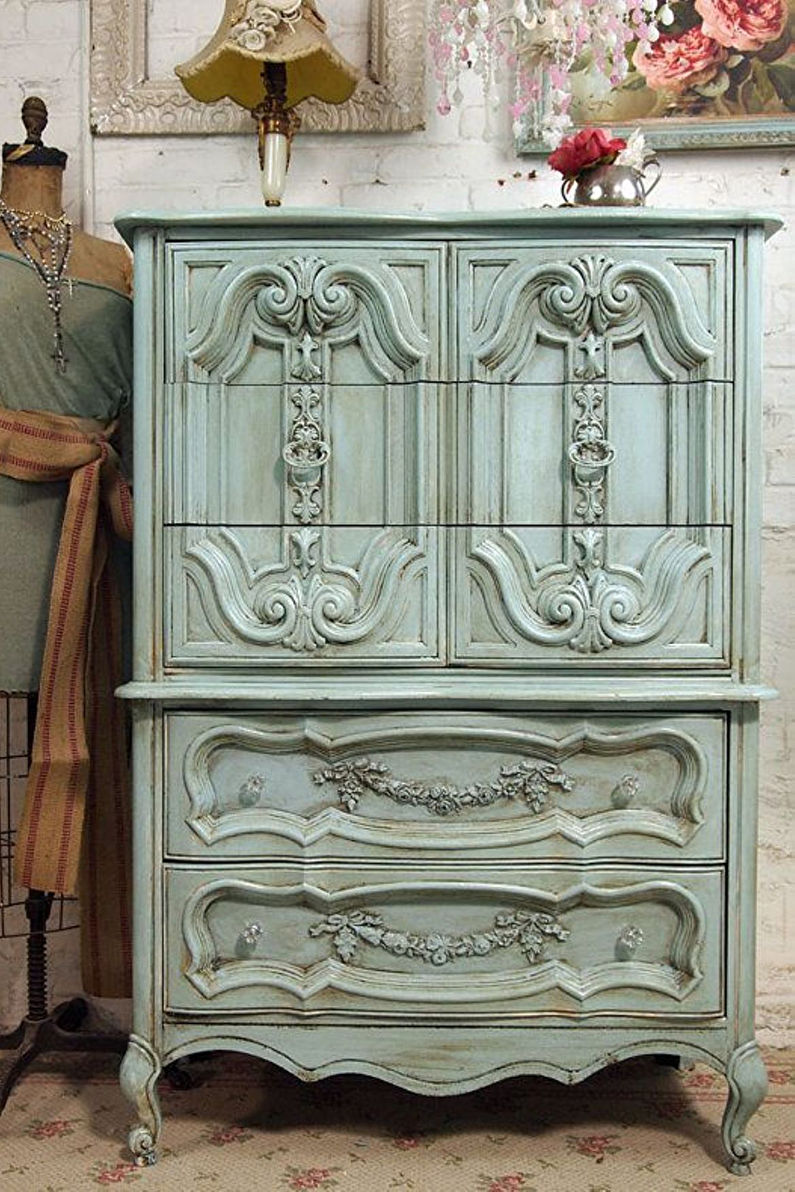
Tip. A unique effect is obtained if varnish is cracked, which cracks when dried. This method of restoration is suitable for design in the style of Provence and Country.
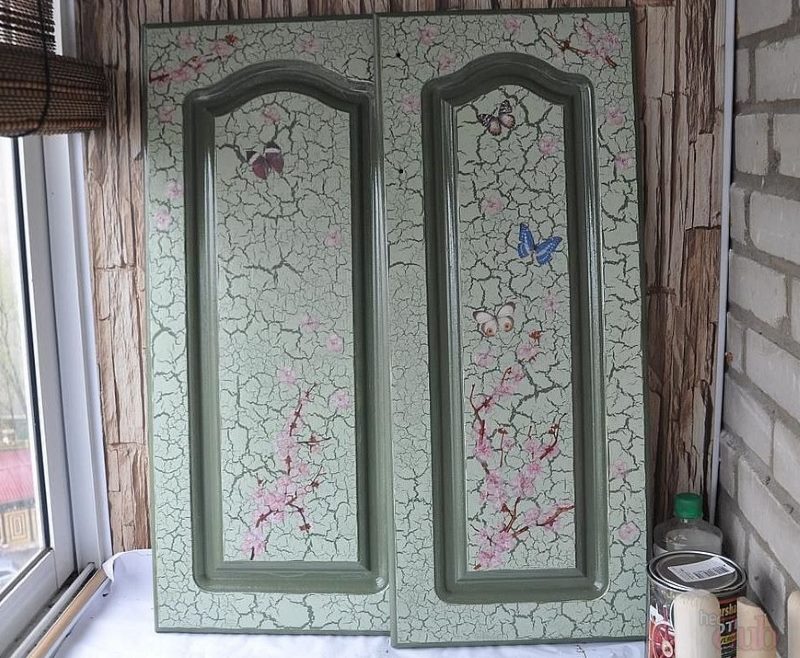
The photo shows an example of an artificially aged surface using Crackle varnish.
At the stage of furniture painting, before decoupage, it is possible to patinate the facade. This is achieved by the use of an absorbent sponge or an ordinary rag. When the paint is not yet completely dry, you need to wet the sponge in some places and remove a small paint layer. The effect is reminiscent of time-old French furniture in the Provence style.
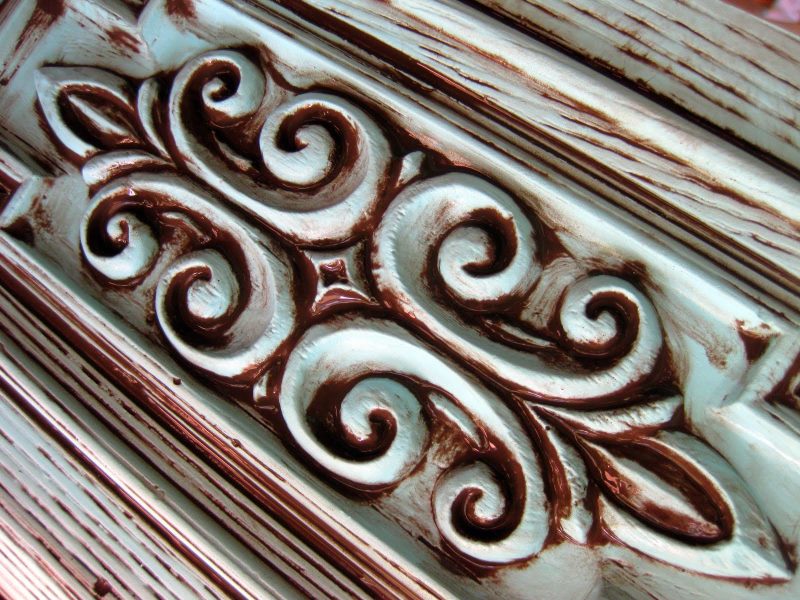
Furniture patination is especially effective on curly elements